
How to Add Custom Picture Frame Trim to Your Home

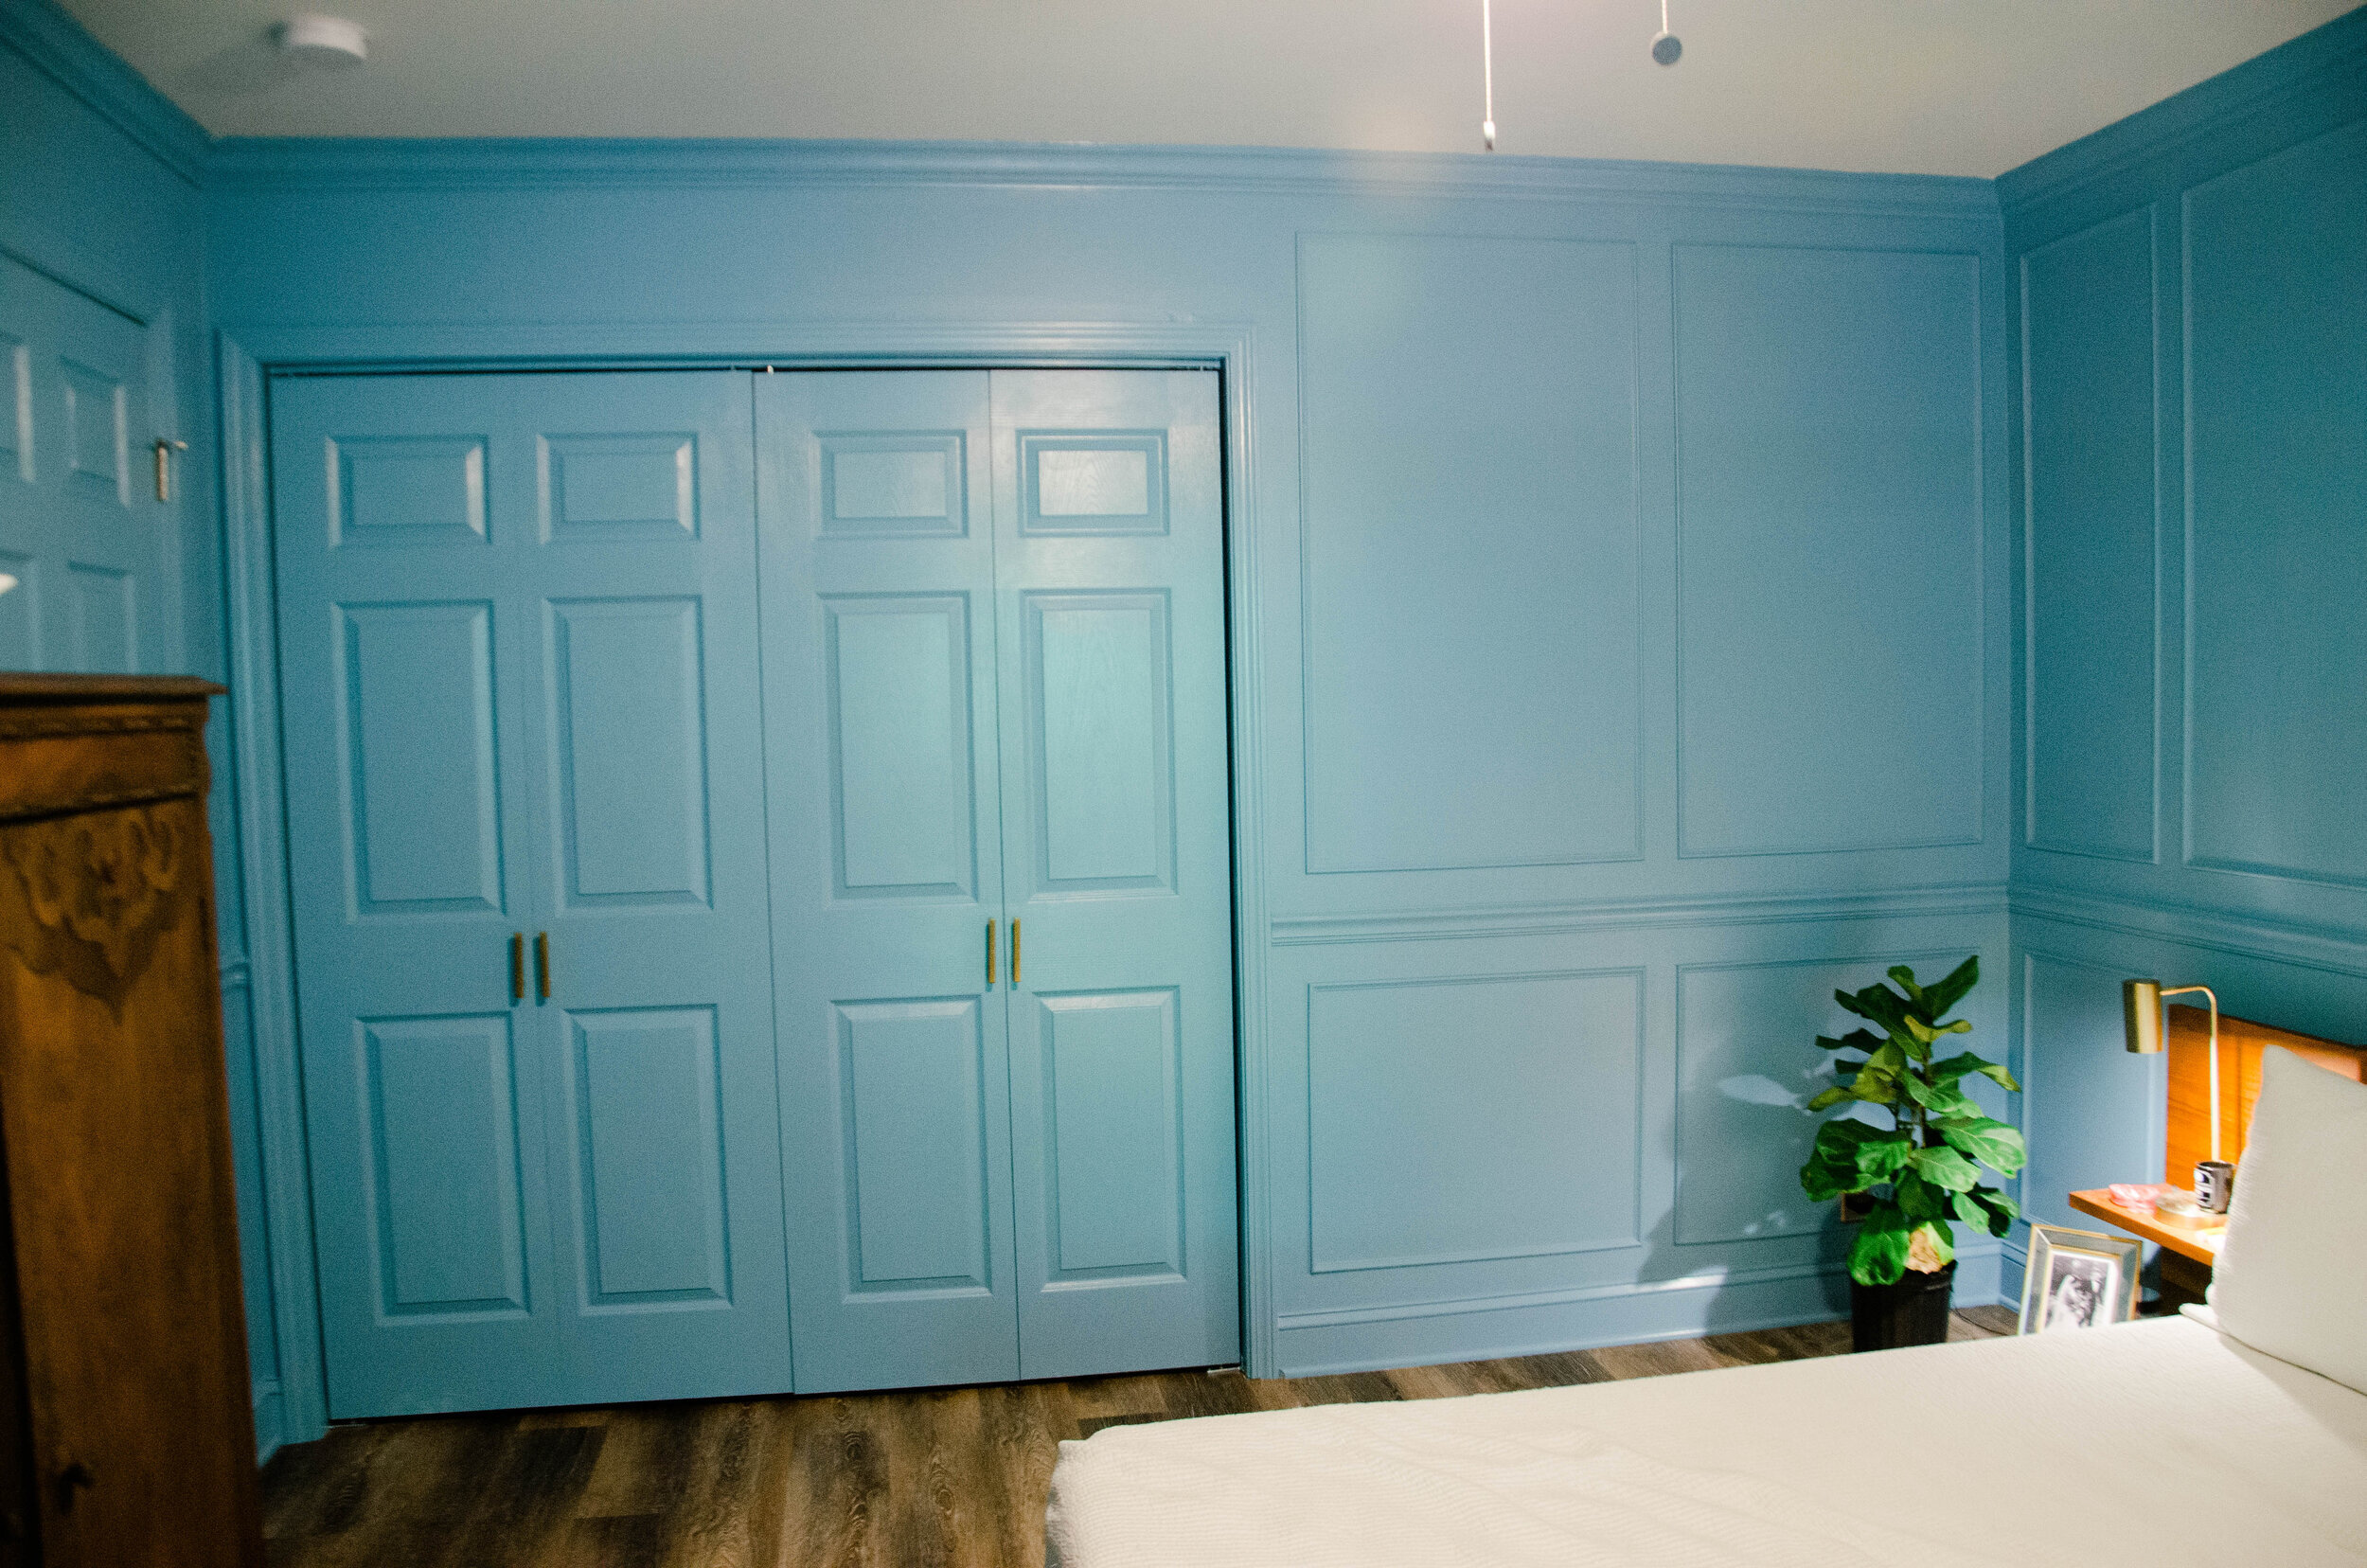
[image: my bedroom, which has blue walls with picture frame trim, a plant, a large low bed with white bedding on which my dog is sitting]

BEFORE
This image is from the listing of the home before we bought it.
[image: a room staged with white and orange furniture and beige walls]

AFTER
Surprisingly, the trim and large bed make the room feel much bigger than before.
[image: the same as the first image on this web page]
This master bedroom from Alisa at A Glass of Bovino was probably the most helpful walk-through from scratch to final product on the trim. Reading her post also showed us just how impactful a bit of trim could be. All in, the trim and paint was around $500. We were able to borrow friends’ miter saws, saw tables, nail guns, and TIME (most important - it’s not a quick project). We couldn’t have done it without help since this was very much our first trim rodeo. We would now be much faster at putting up, say, crown moulding in the living room (hint hint, Jackson).
Measure and Tape Everything.
A big part of this room was the measuring, re-measuring, and leveling of all the trim. The actual nailing-the-trim-to-the-wall part doesn’t take very long at all. Since we had the furniture first (which I highly recommend if you’re doing a more detailed pattern), we used the width of the bed frame to determine the size of the rectangles we wanted on either side of it and above it.

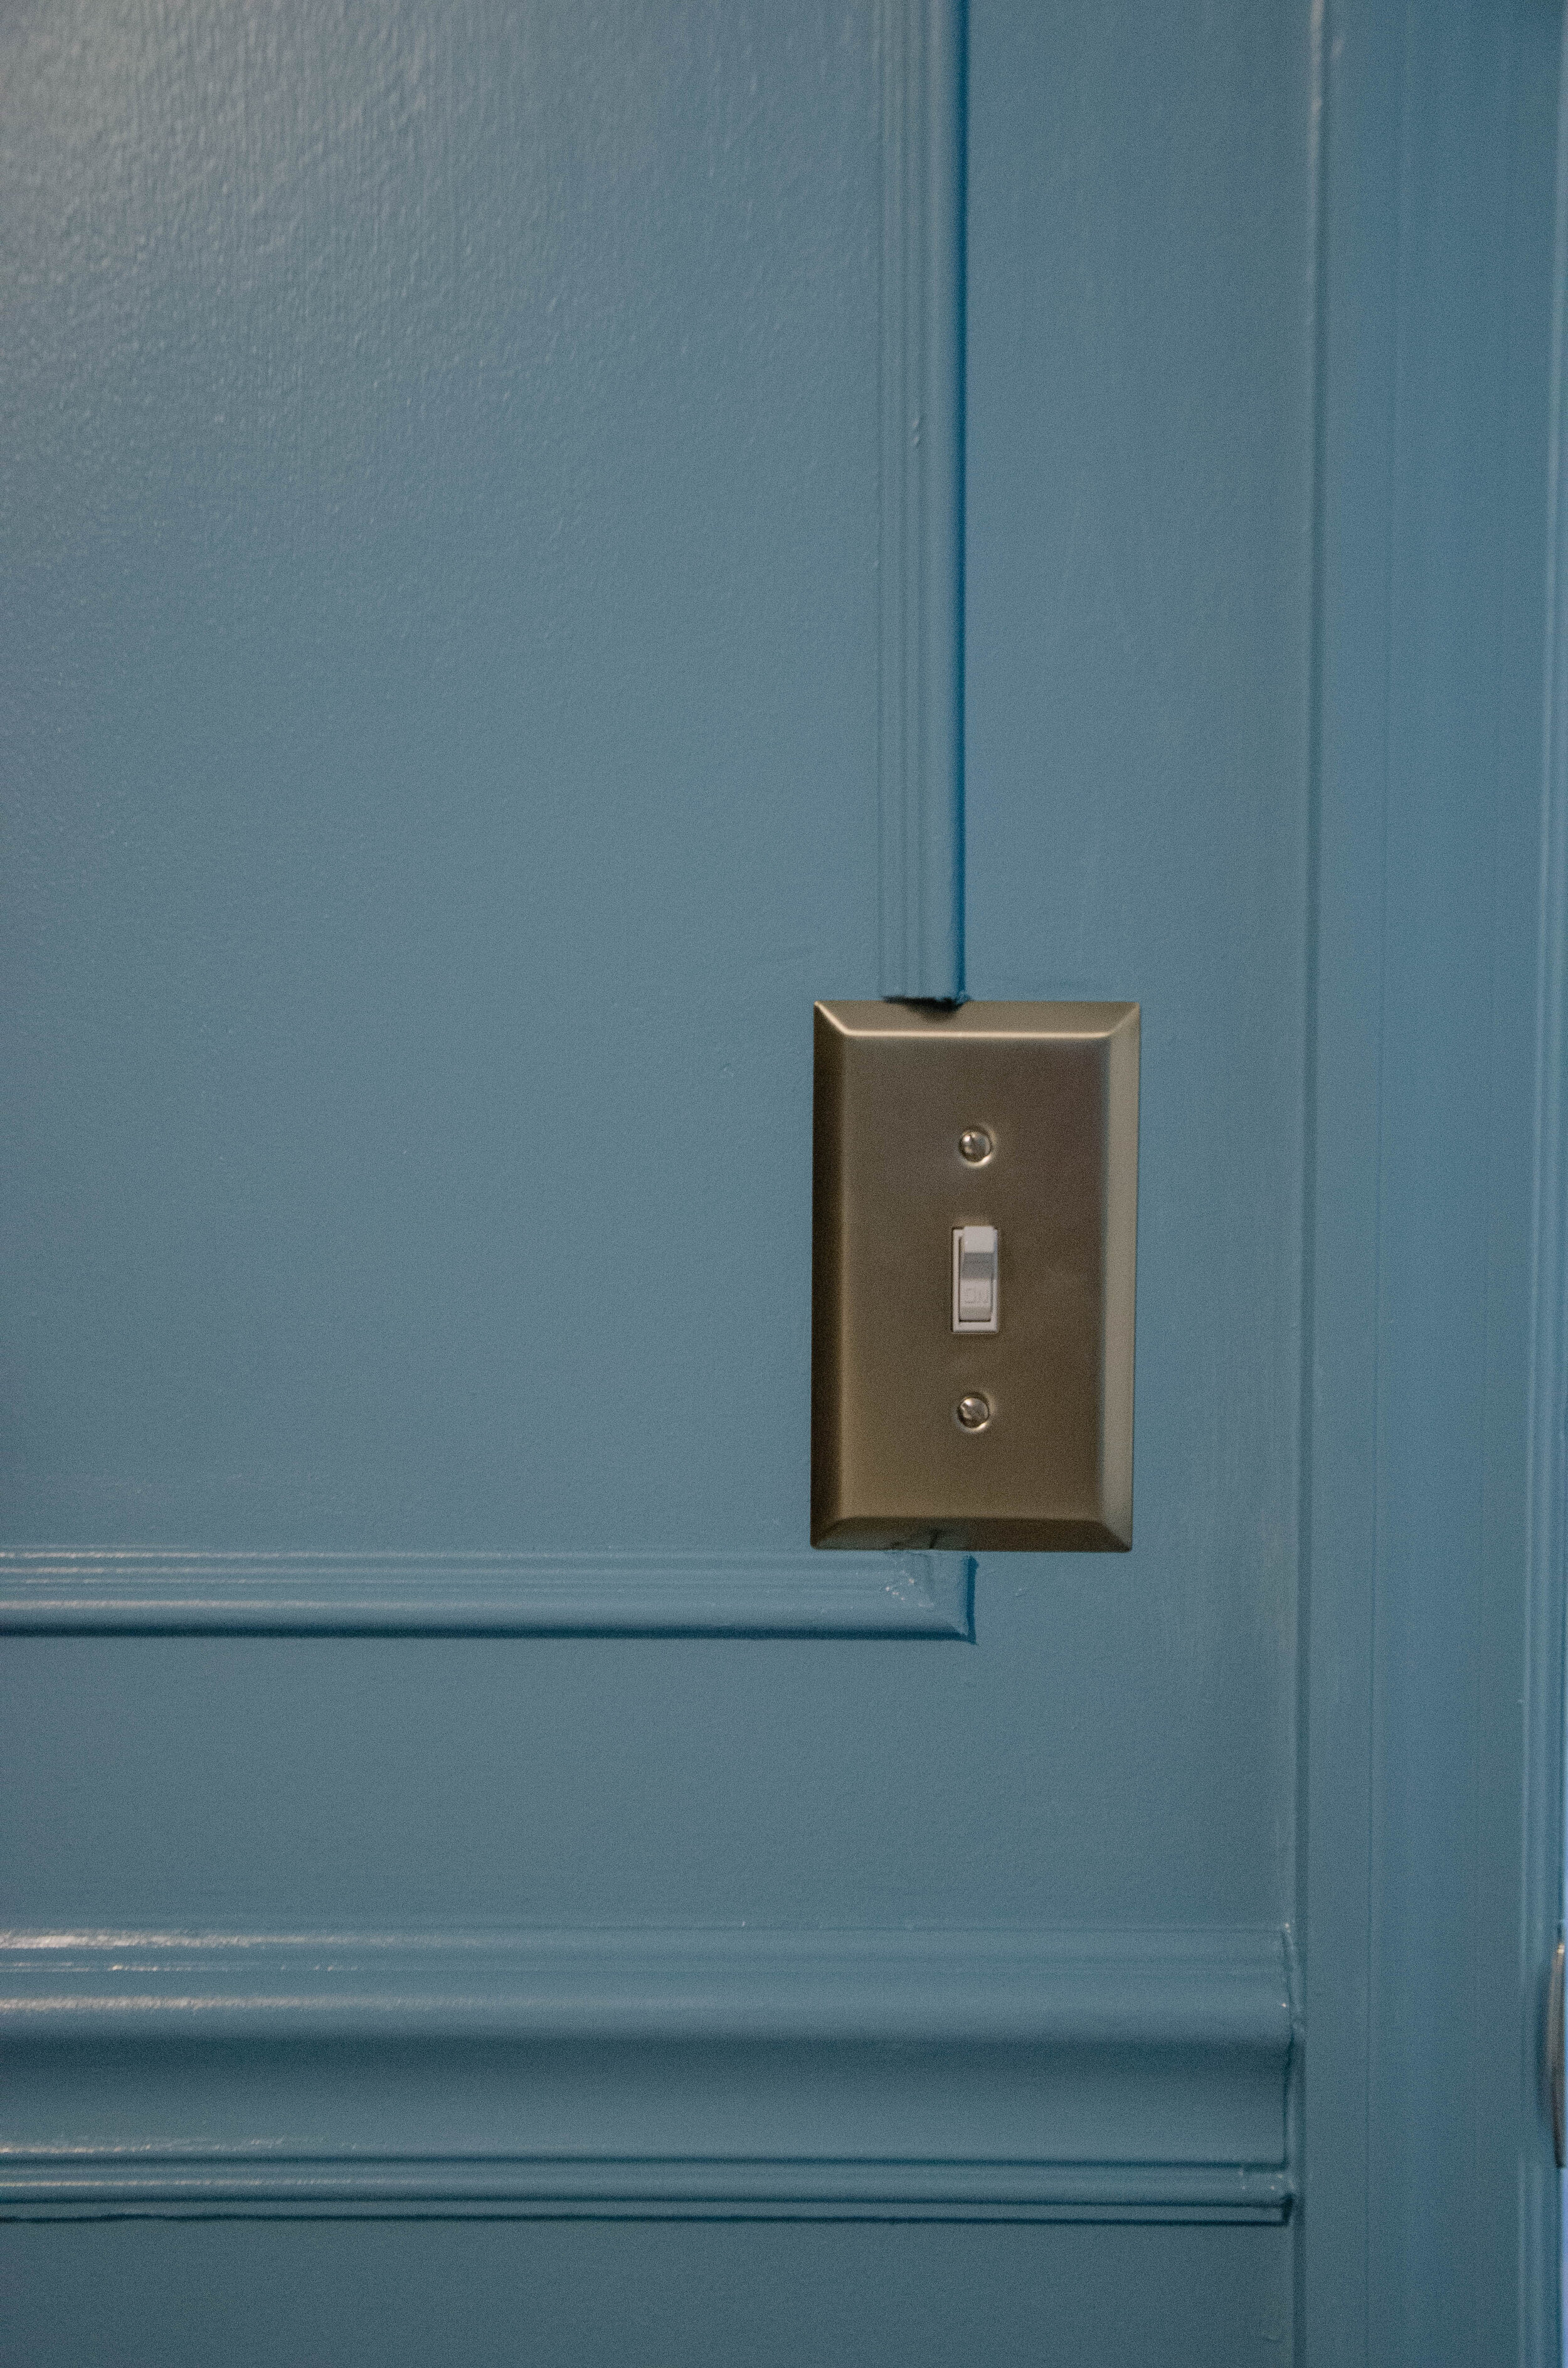
Start by measuring the width of each wall on which you want to put trim. We had a few things interrupting our walls like a closet, a window, and doors to the hallway and the master bath. What you’ll want to do is measure the un-interrupted space and split that up evenly by however many boxes you have. Don’t forget to account for the space you want to go between the boxes. We had 3” between each box here and made that match around the room. So, every box is also 3” above or below the chair rail and the crown moulding.
So if we had a wall that was 100”, we’d want to do 3 boxes that were 3” apart from each other and from the edges of the wall (so 5 segments of 3” spacing)
= 100-(3x5) = 85.
Divide that by 3 boxes = 28.33”
Each length for the bottom and top of the three boxes would be 28.33” long and then the vertical sides of the boxes would be however high up to the ceiling minus the 3” spacing at the top.
It sounds more complicated than it is, but it’s just complicated enough that you’ll want to check your measurements twice. It’s also tricky because everyone’s room is different, so no tutorial can effectively say “Just cut x inches of trim and staple it up and there you have it!” Scaling is a pain in the butt and it’s maybe the most important part of this project. We decided to use blue tape to measure and draw out all the boxes after we’d done the math but before we cut any trim. I highly recommend it.
Cut all your trim.

First, Jackson and our friend Alec put up the crown molding and the chair rail; this is the hardest part because its continuousness around the room requires pieces of trim to be coped.
Once all the picture frame trim was cut, it took us probably 2 hours to get it all onto the wall.
Paint it all.

Once you’ve got all your trim on the wall, you’ll want to use wood filler to cover nail holes in the trim and to caulk all the seams where the trim meets the wall. I know this sounds tedious and that’s because it is. But it is worth it for the final look. You won’t want to be going back over your already painted wall to caulk and repaint down the road so just trust me on this one. It’s a little scary to start painting a whole room one color. We even painted the sides of the doors that faced in to the room so it’s like a cozy cave when the doors are shut.
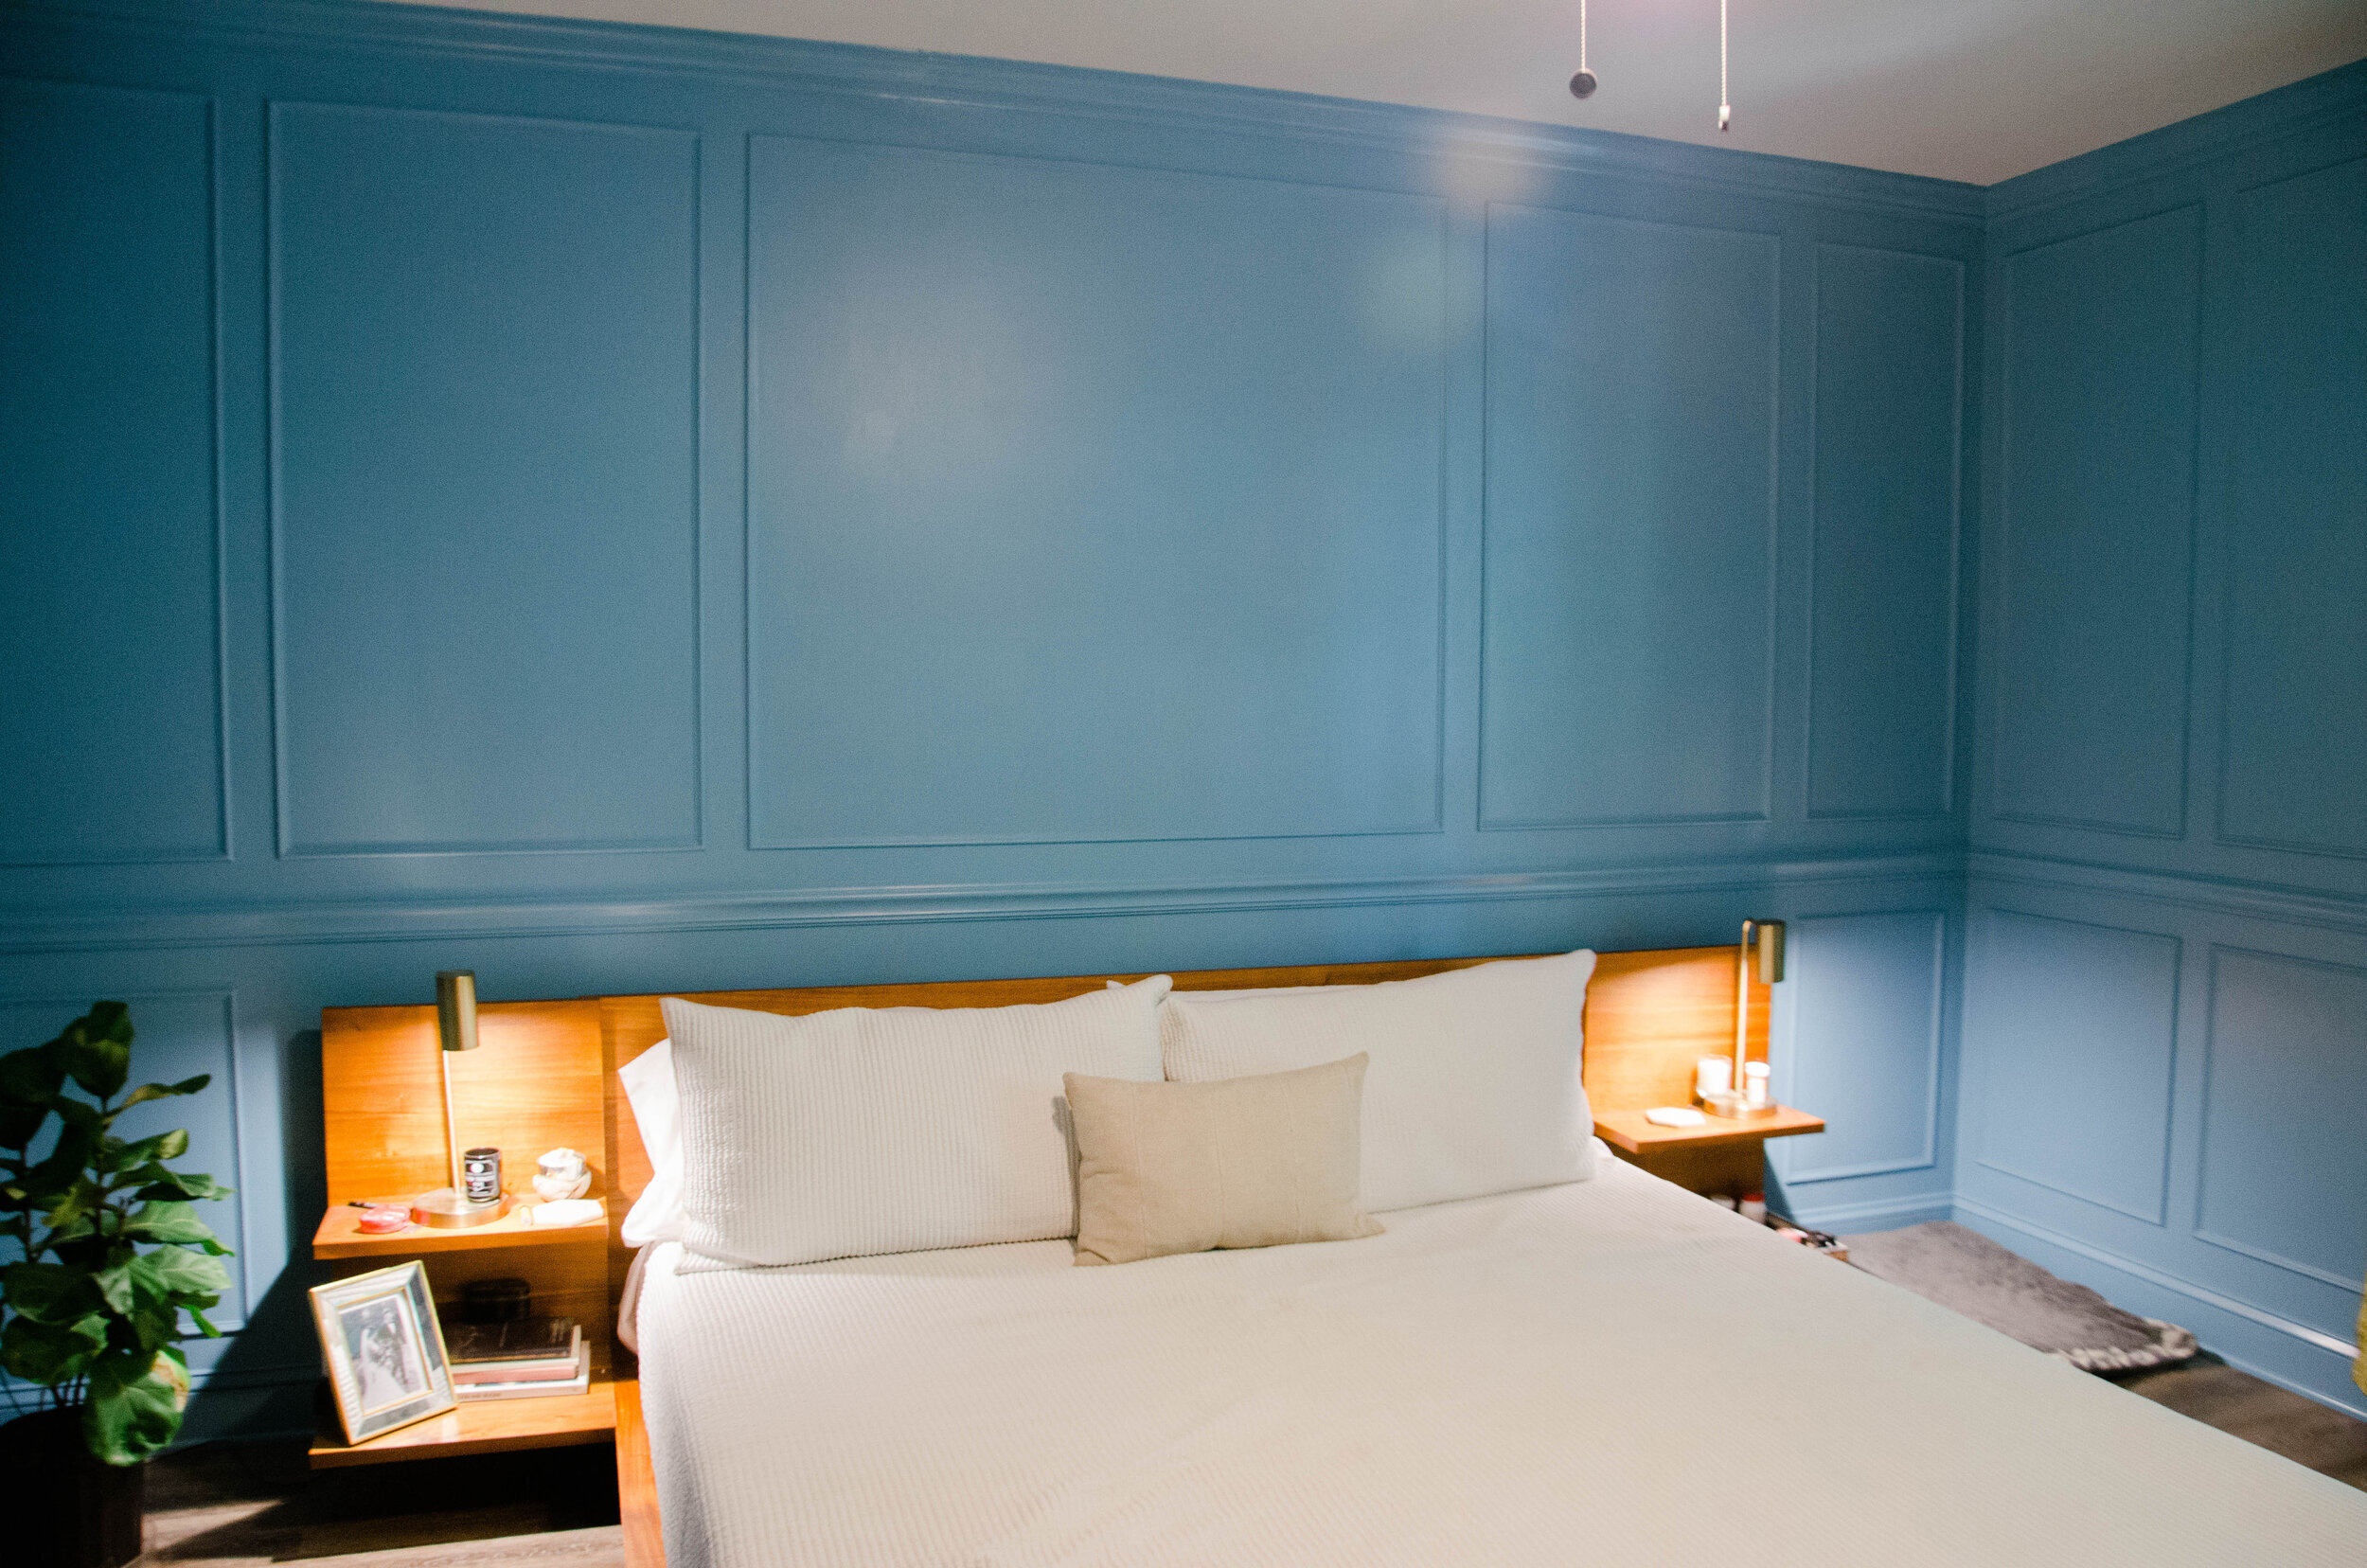
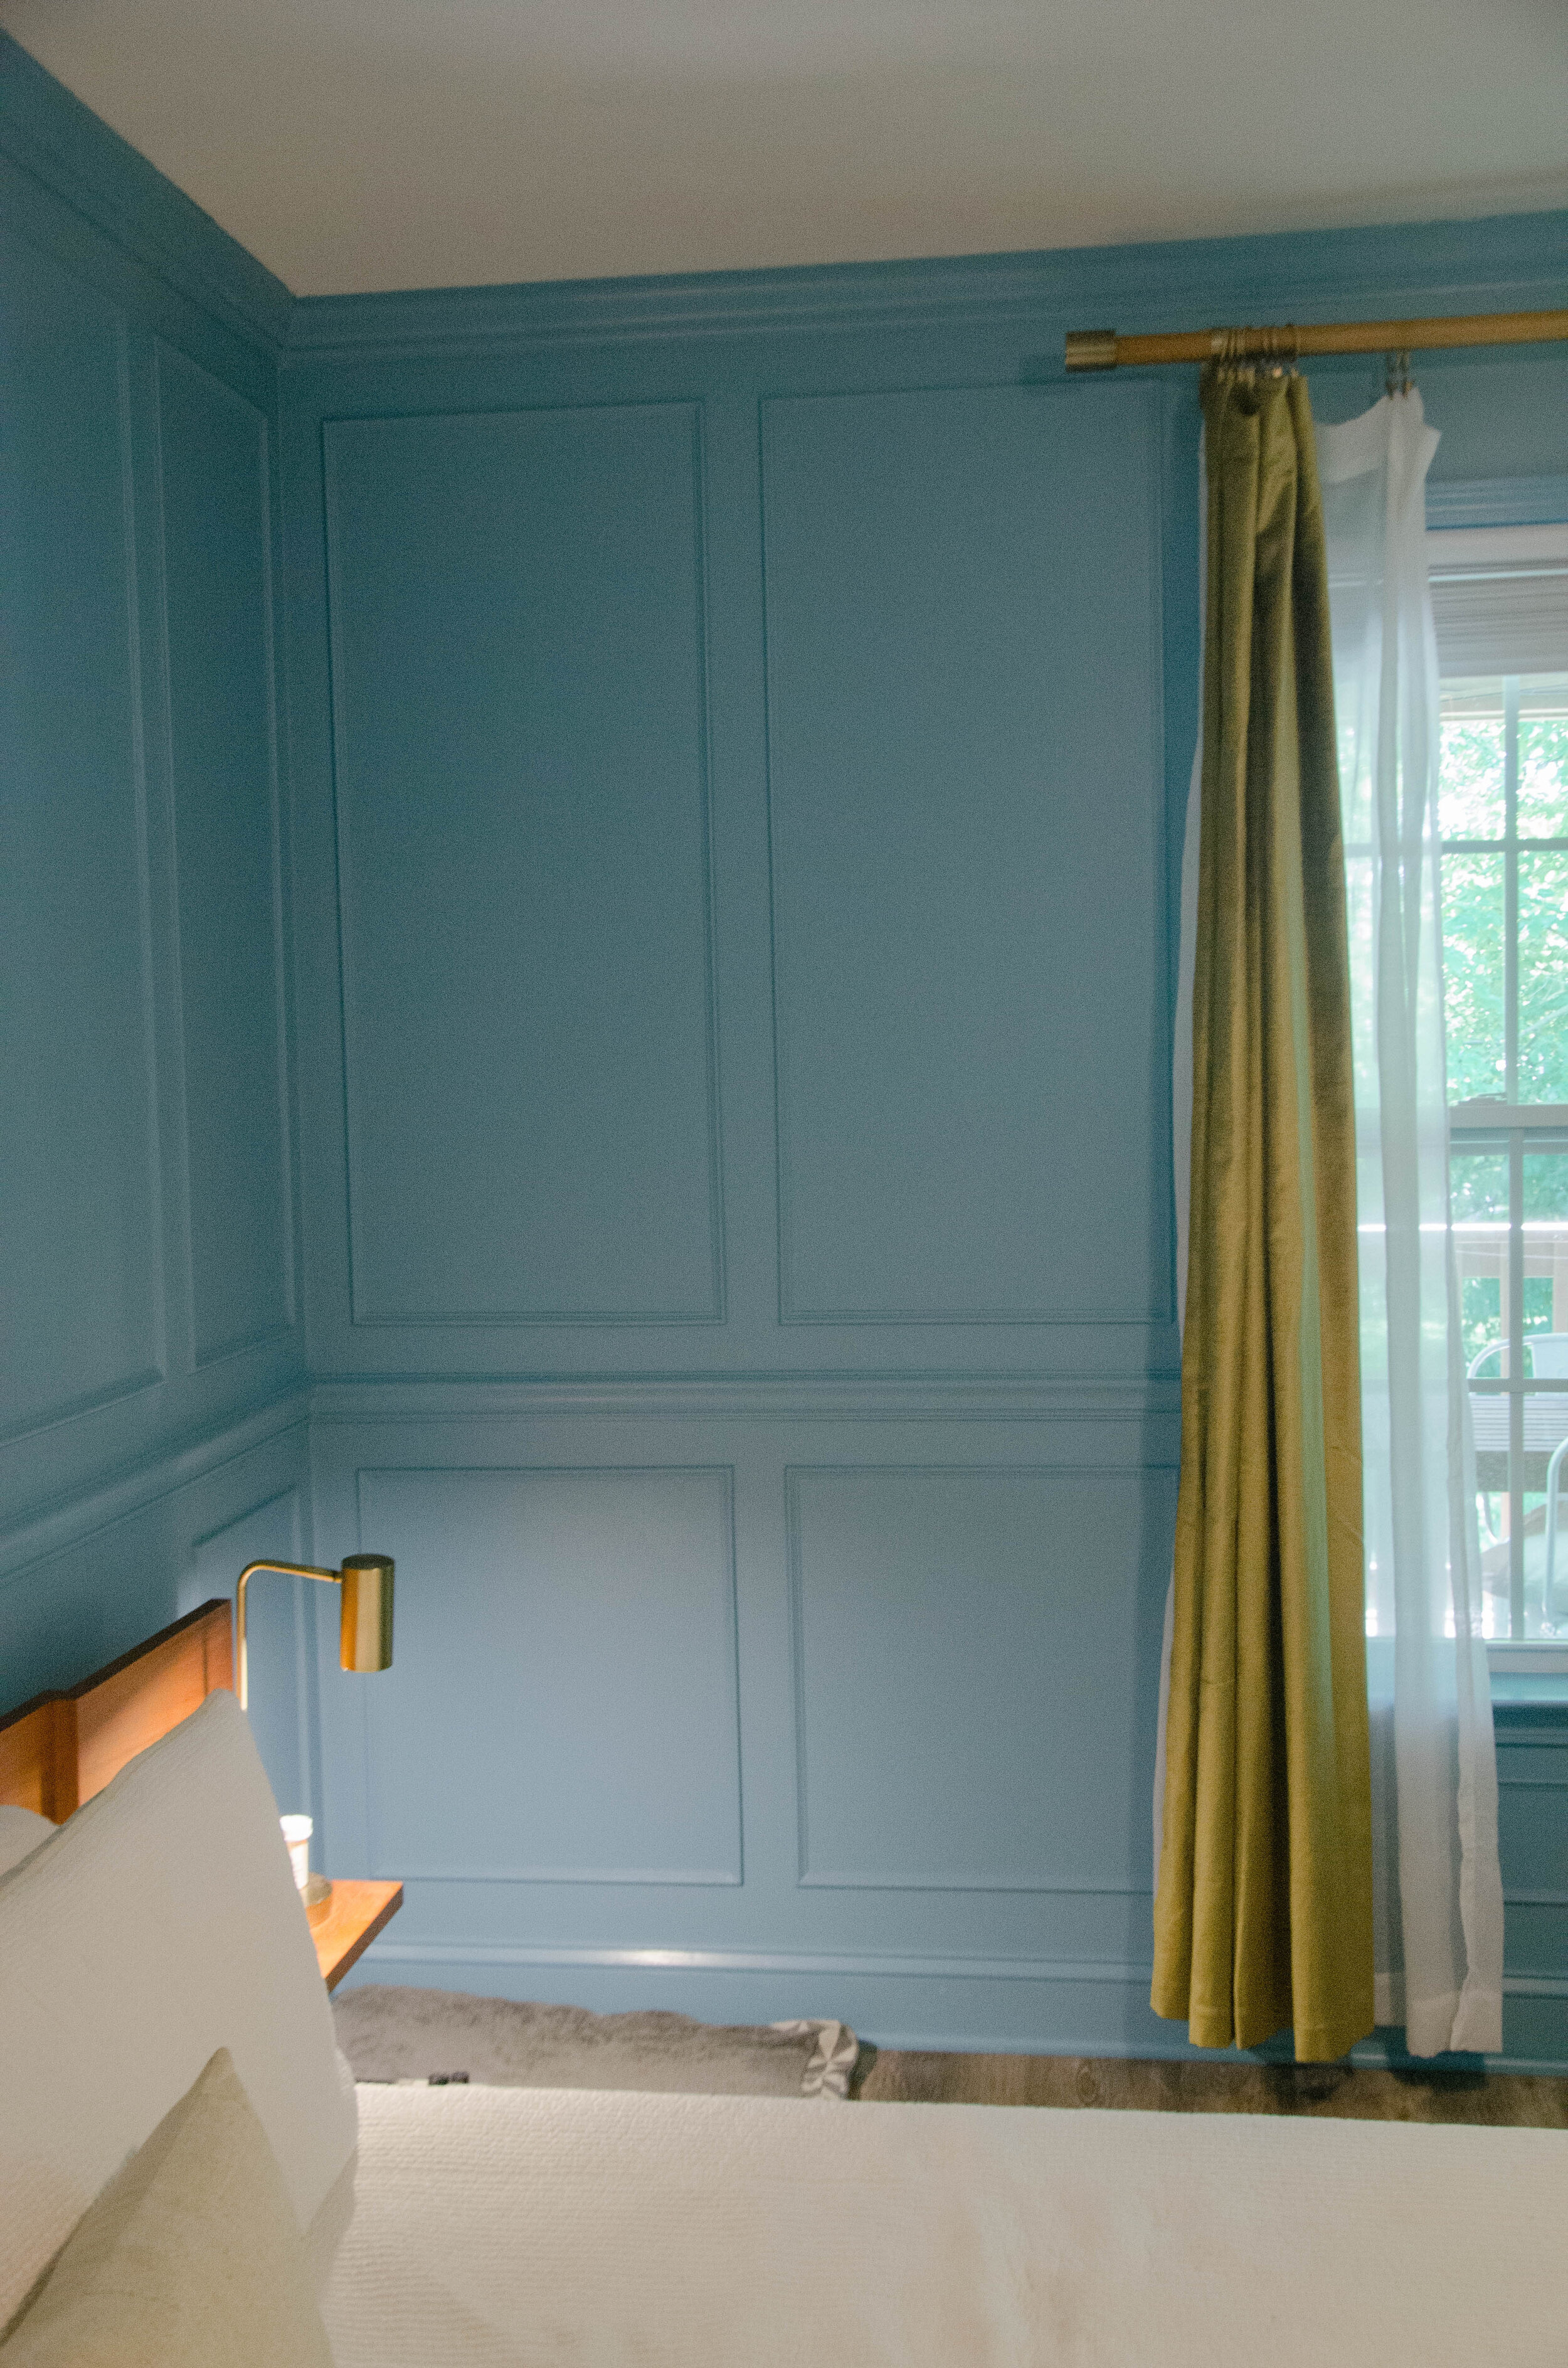
THE FINAL RESULT
We. Love. It. It’s so lush and romantic. We feel like we sleep in a posh hotel room every night.

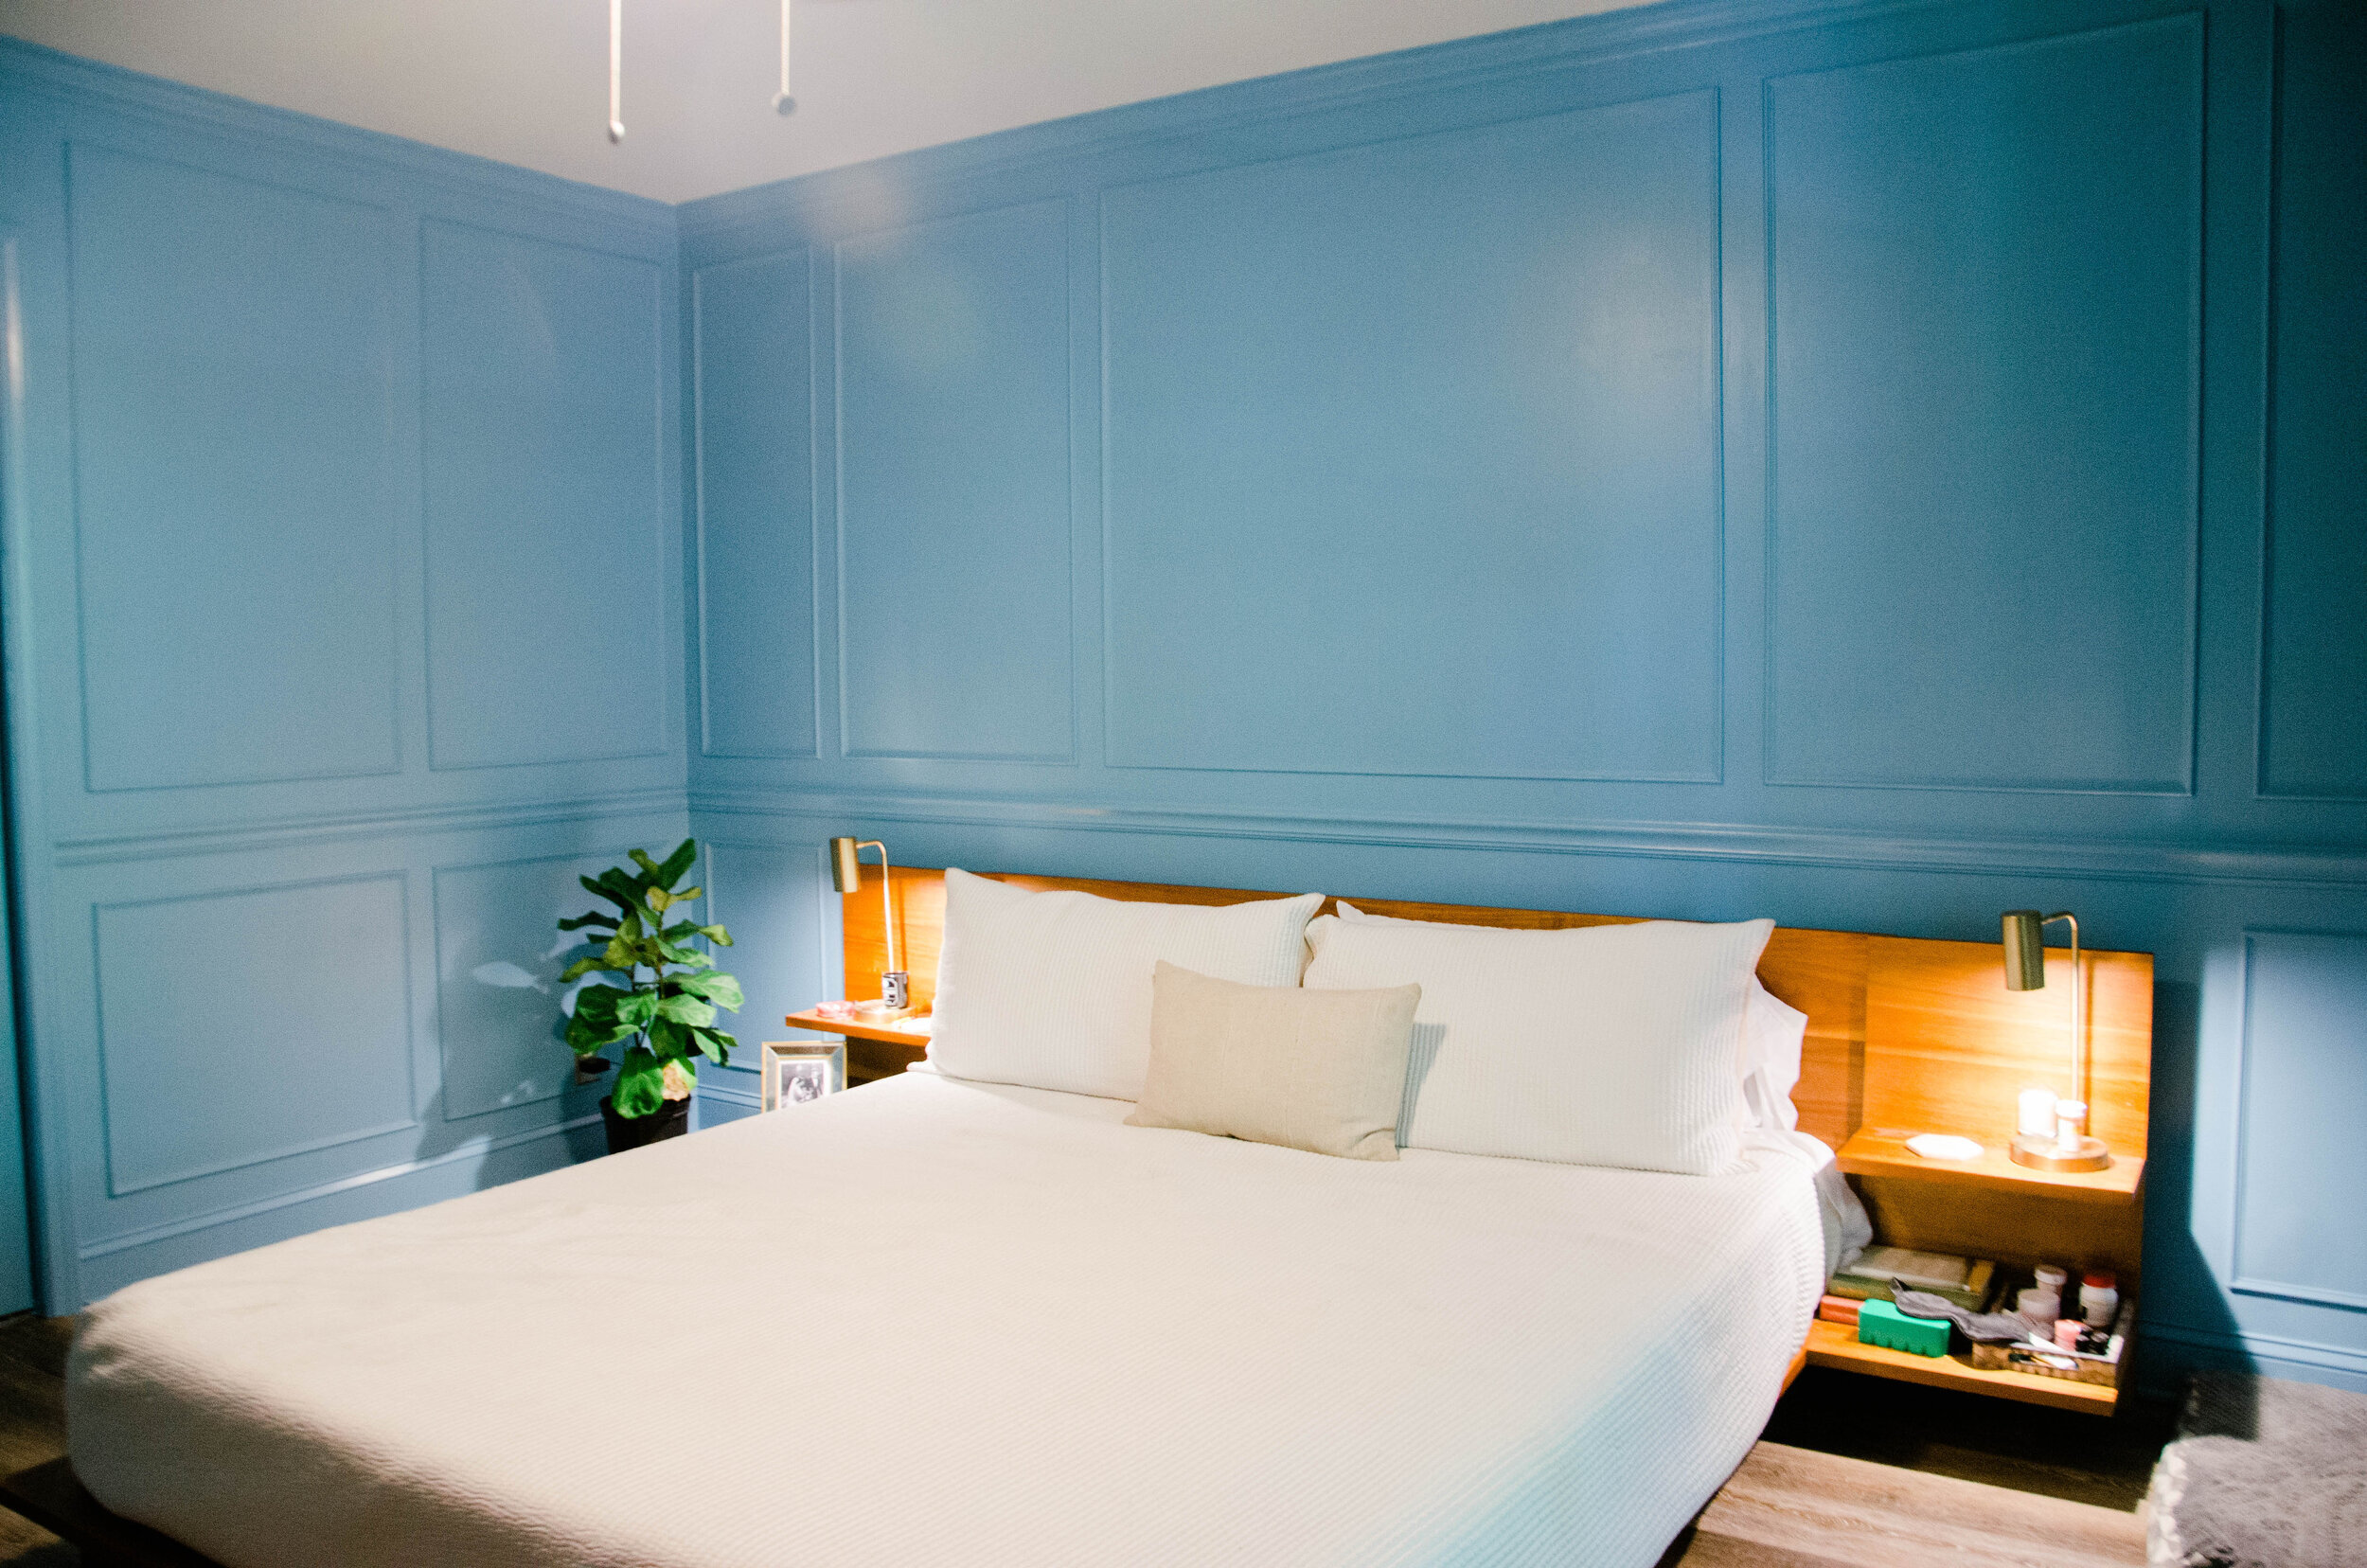


More on the details of our bedroom can be found in this blog post.
What do you think?! Would you put picture frame trim in your home?
xo,
em