

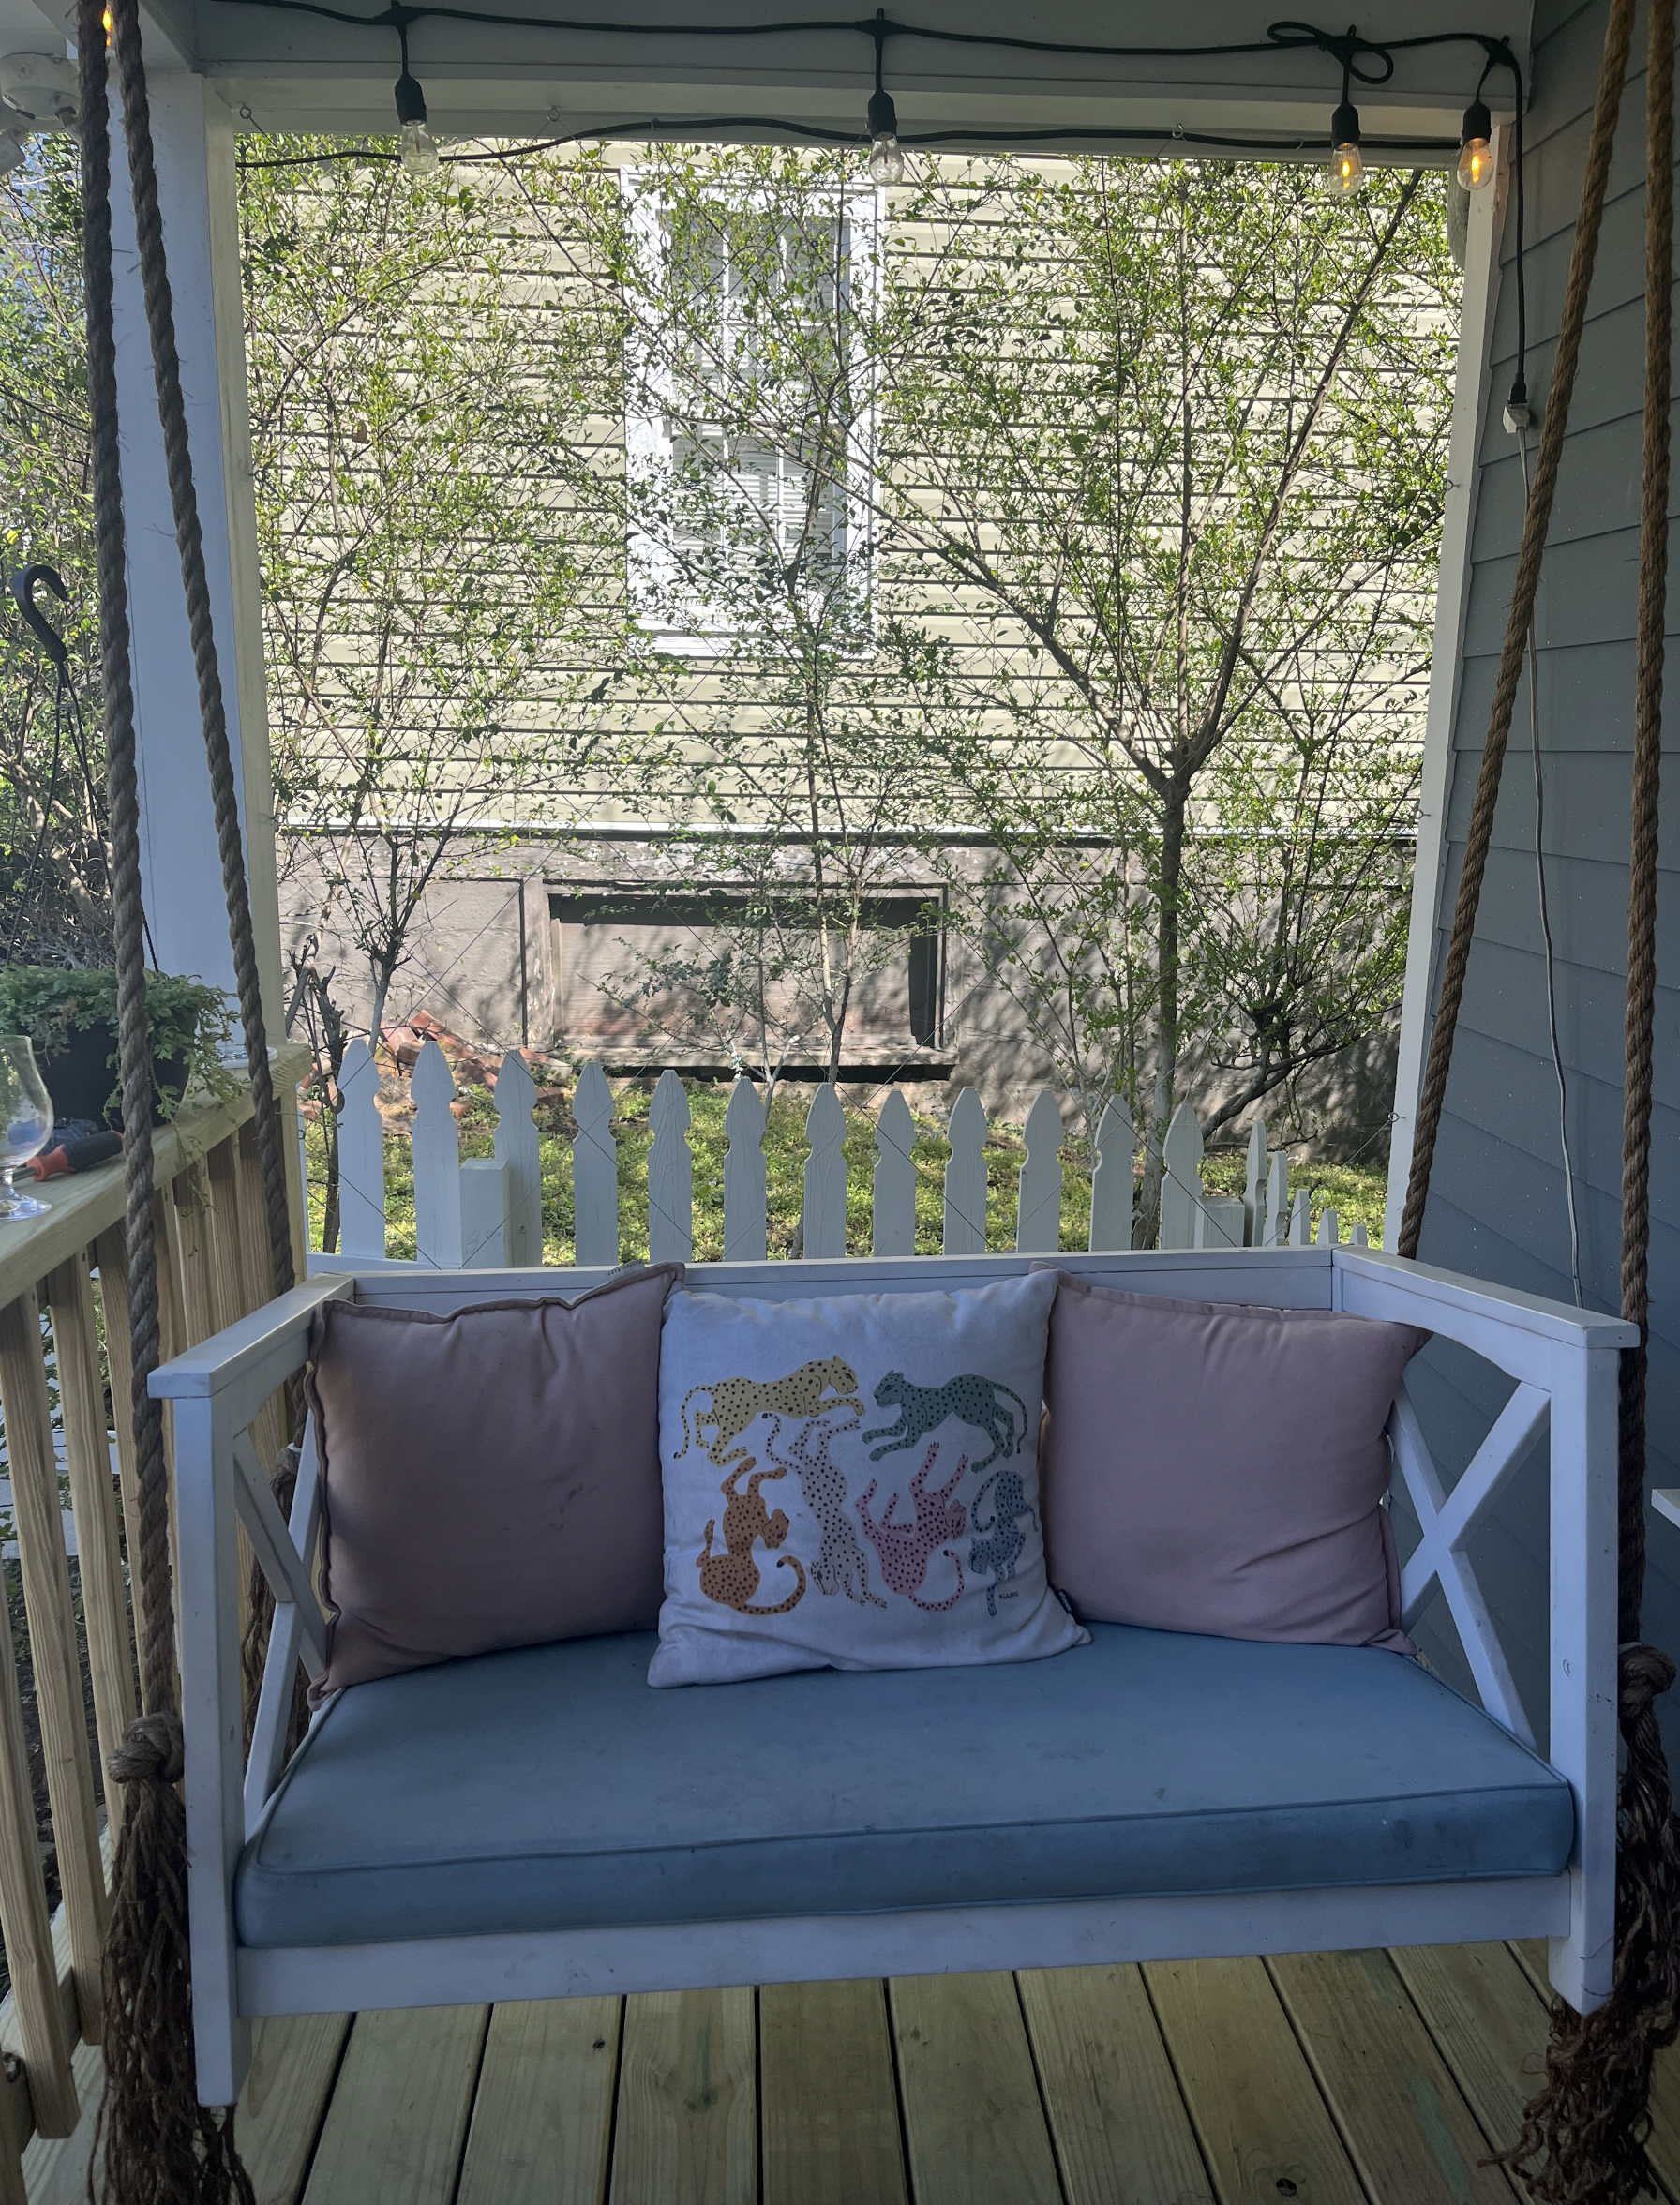
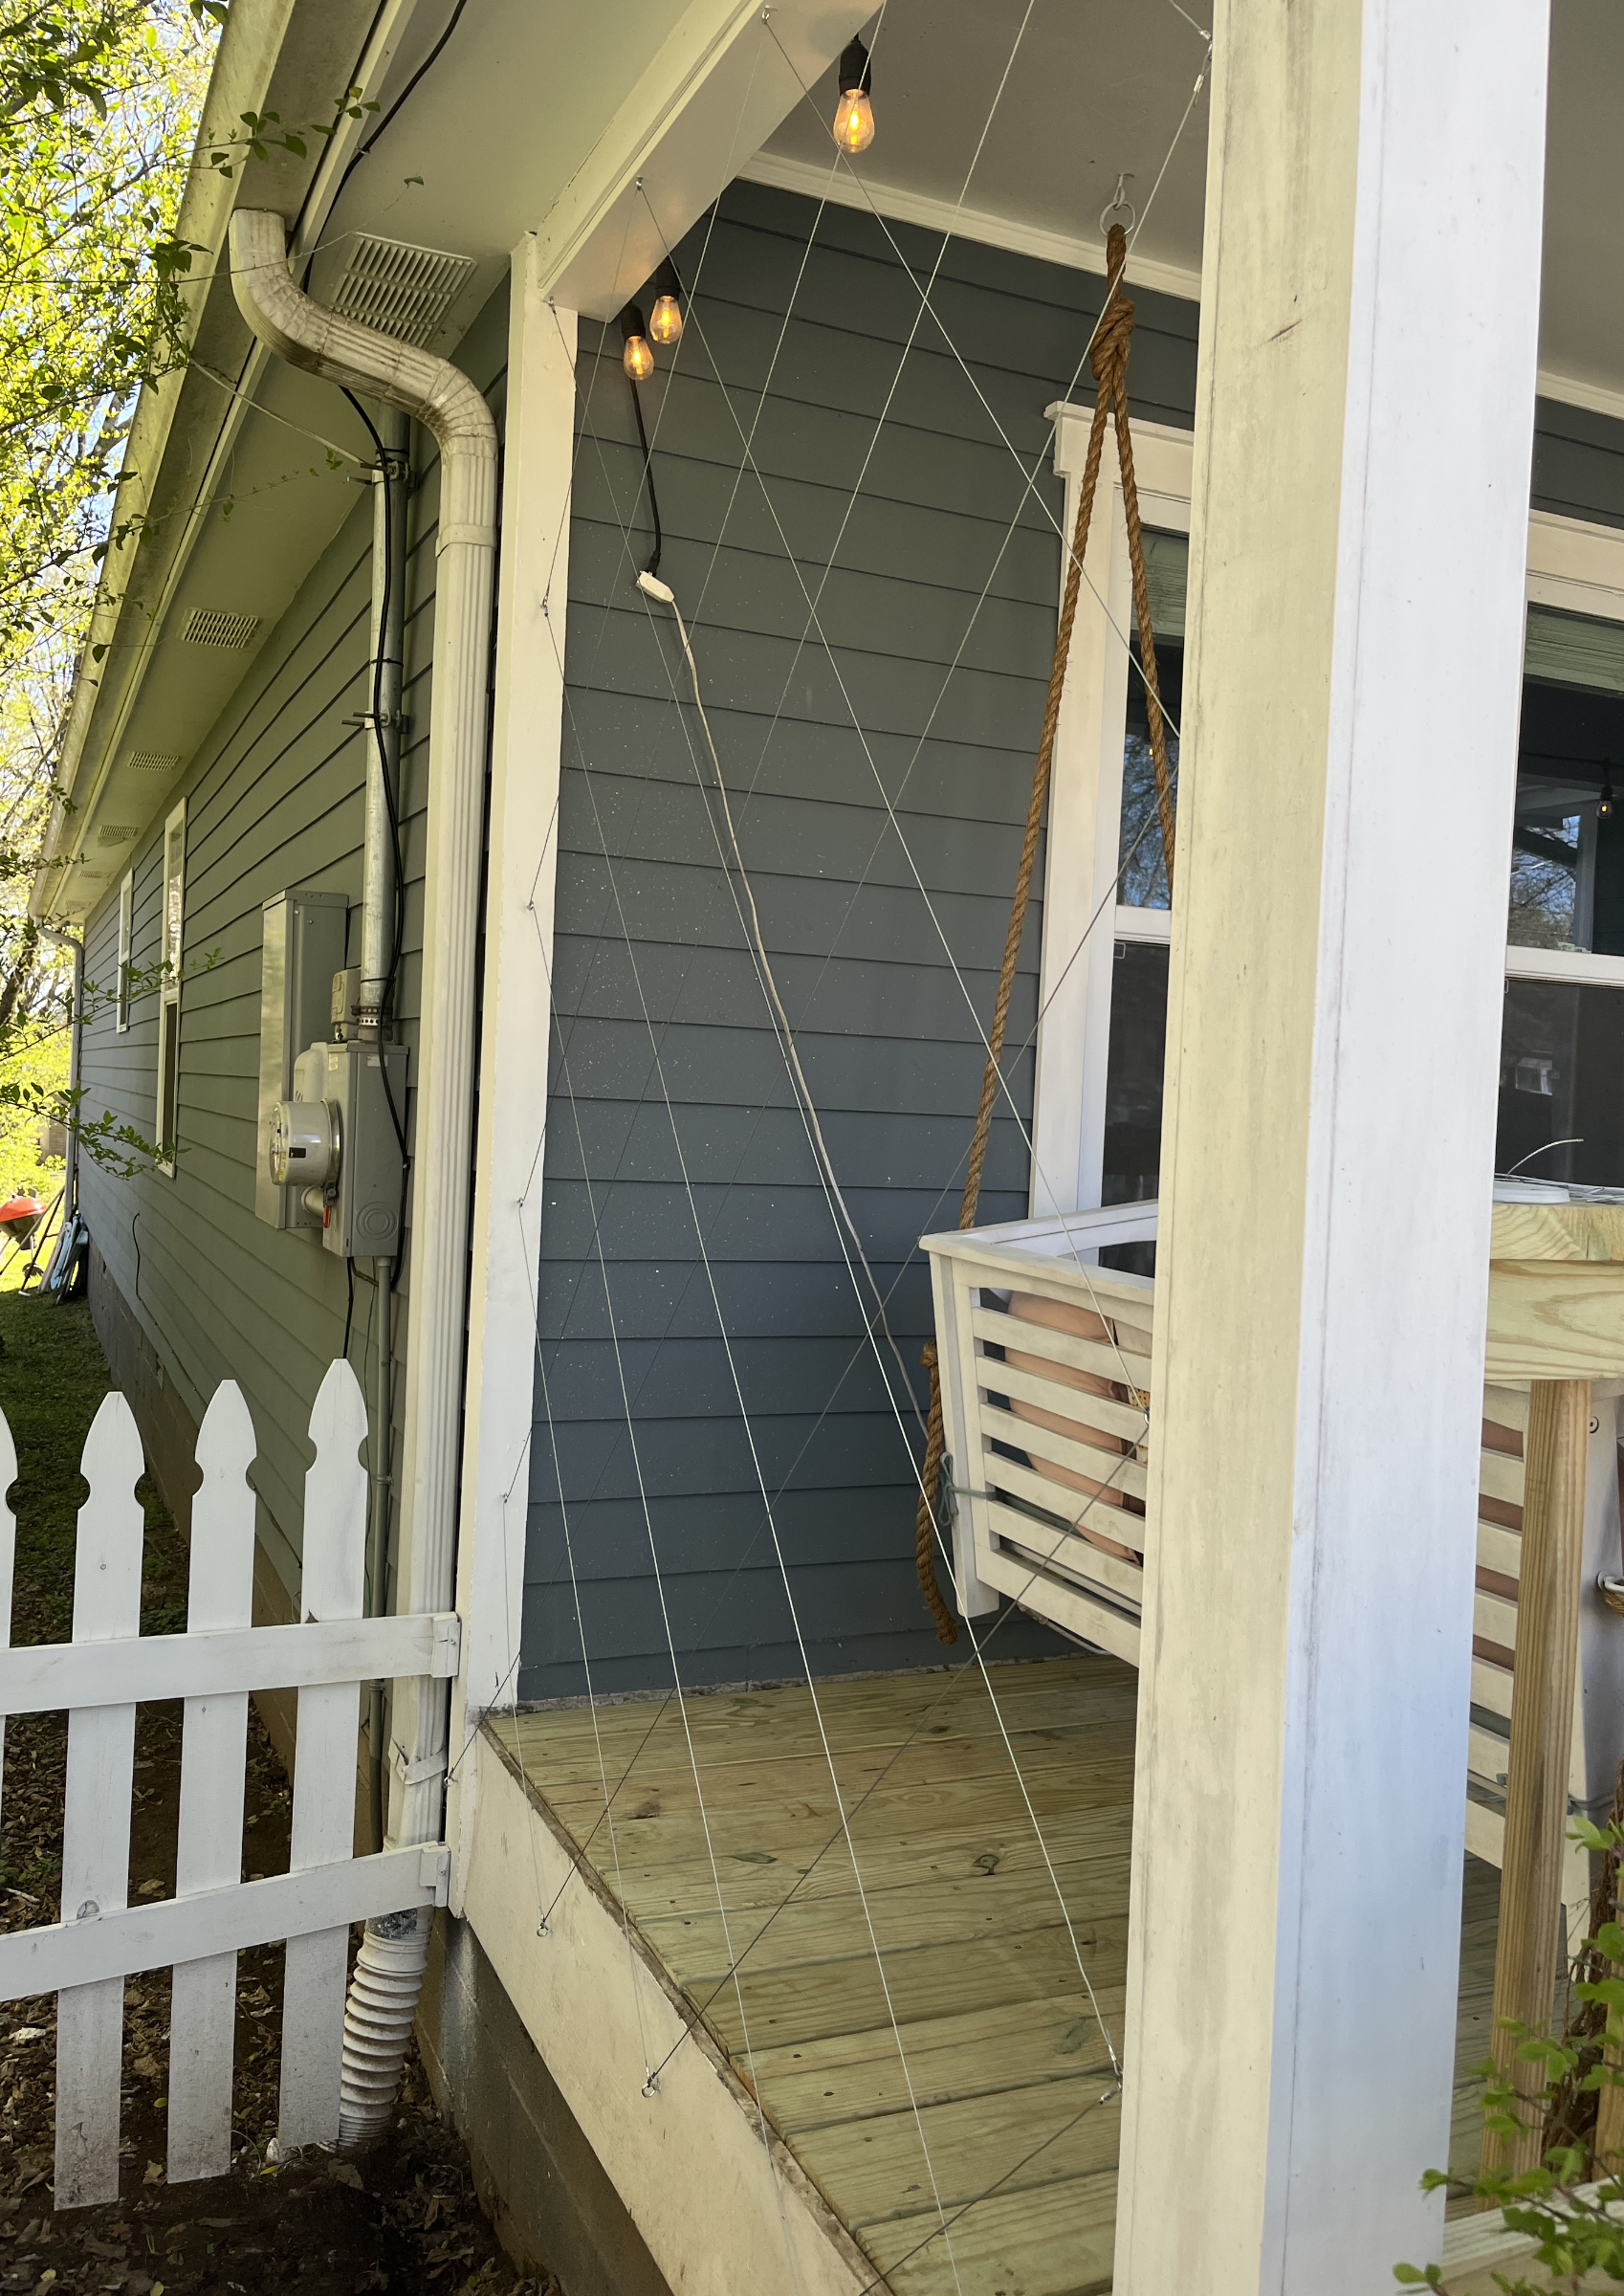
Green Wall Espalier

When we updated our porch, we considered wrapping the bannister around the back side of the swing, but it would limit the mobility of the swing almost completely because of the space taken up by the wood. So, we looked for alternative options that would be minimally intrusive on swinging space and still create a firm barrier for the edge of the porch so that puppies and people don’t tank off the side.
I came across a number of trellis ideas on Pinterest. I saved a few before I realized I wouldn’t have to build the frame but instead could simply add wire and use the porch itself as the frame! I googled until I found out that there are specific trellis styles and that the one I liked best (Parsley and Pom Pom’s image in the top left here) was called Belgian espalier. It felt like a perfect fit since our last big international trip had been to Belgium and we fell in love with the lush gardens in the countryside.
We decided to go for it. You may be surprised to know that the person in our house with a math learning disability (dyscalculia!) is also the person who loves to do all the measuring and designing and math-ing: me. I drew out the plan, measured three times and labeled all the pieces before I called Jackson out to help me.

With a few eye hooks and some 1/4” cable, we laid out a perfect diamond grid.
Next step is sourcing the Swedish ivy plants for the base. These are nontoxic to dogs (we can’t say the same for English ivy) and are evergreen climbers, so the porch espalier will stay nice year round and provide a little extra happy for me in the winter in addition to keeping that side of the porch from being a drop off.

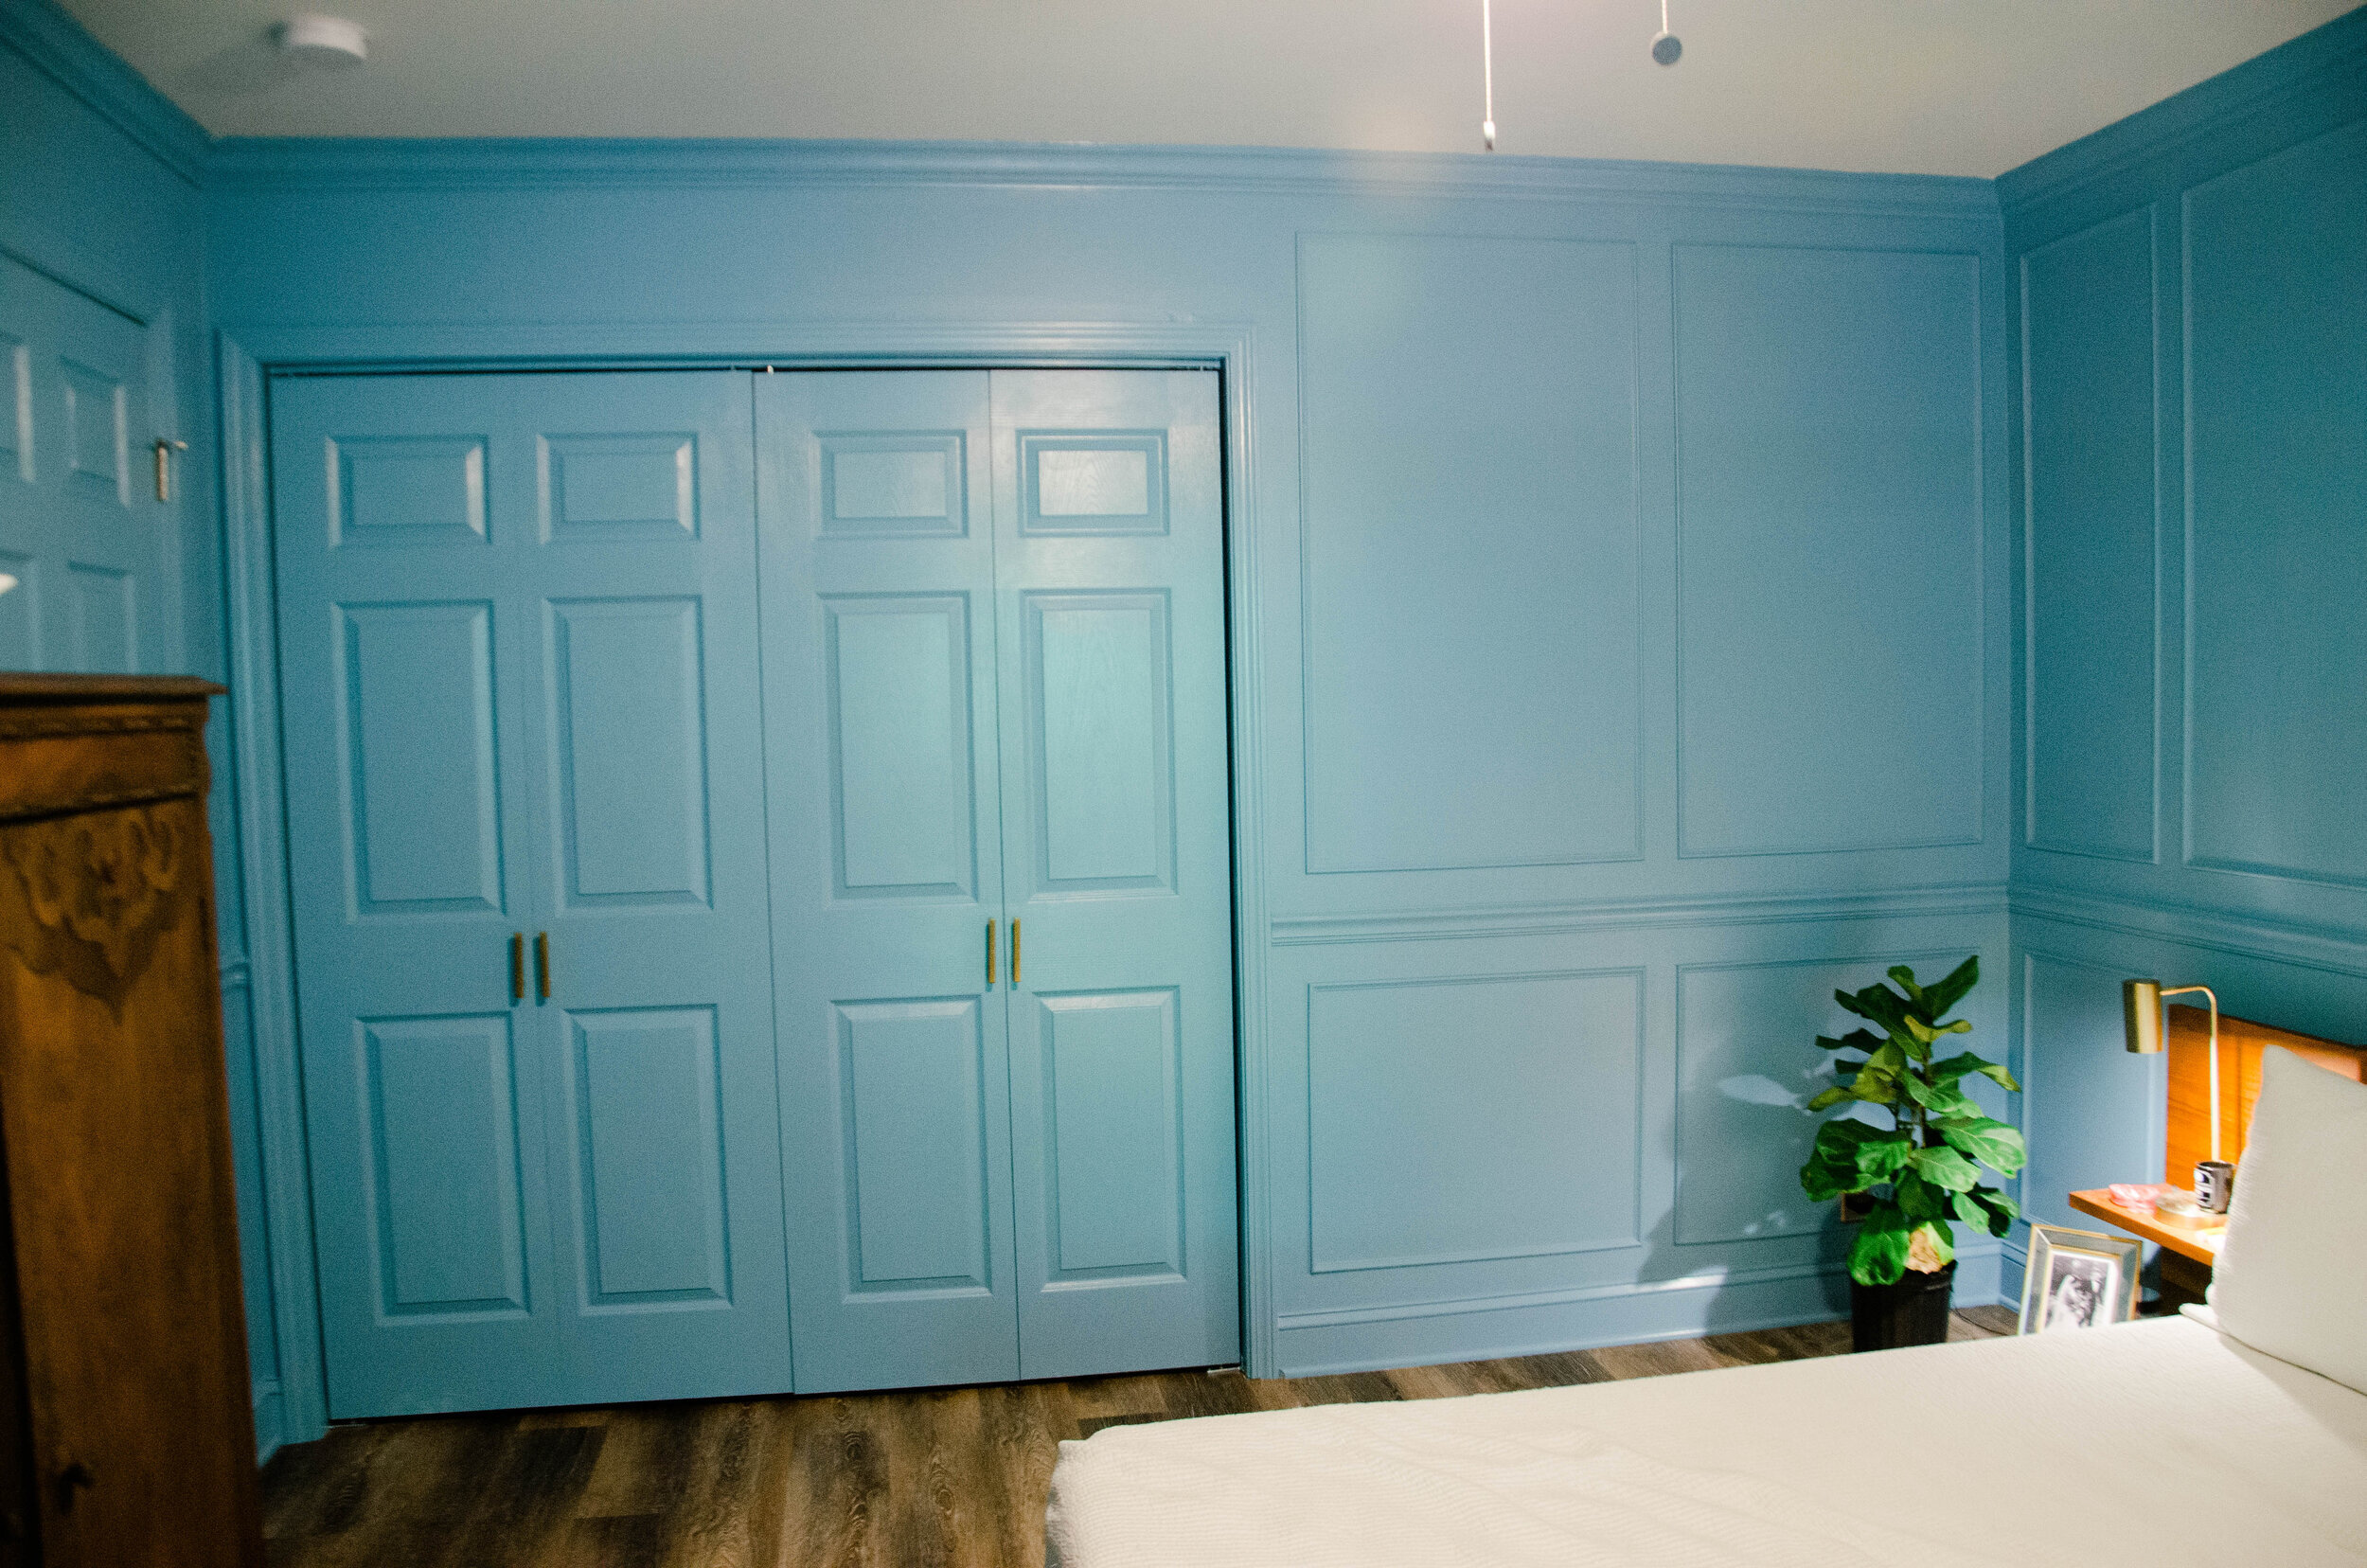
How to Add Custom Picture Frame Trim to Your Home

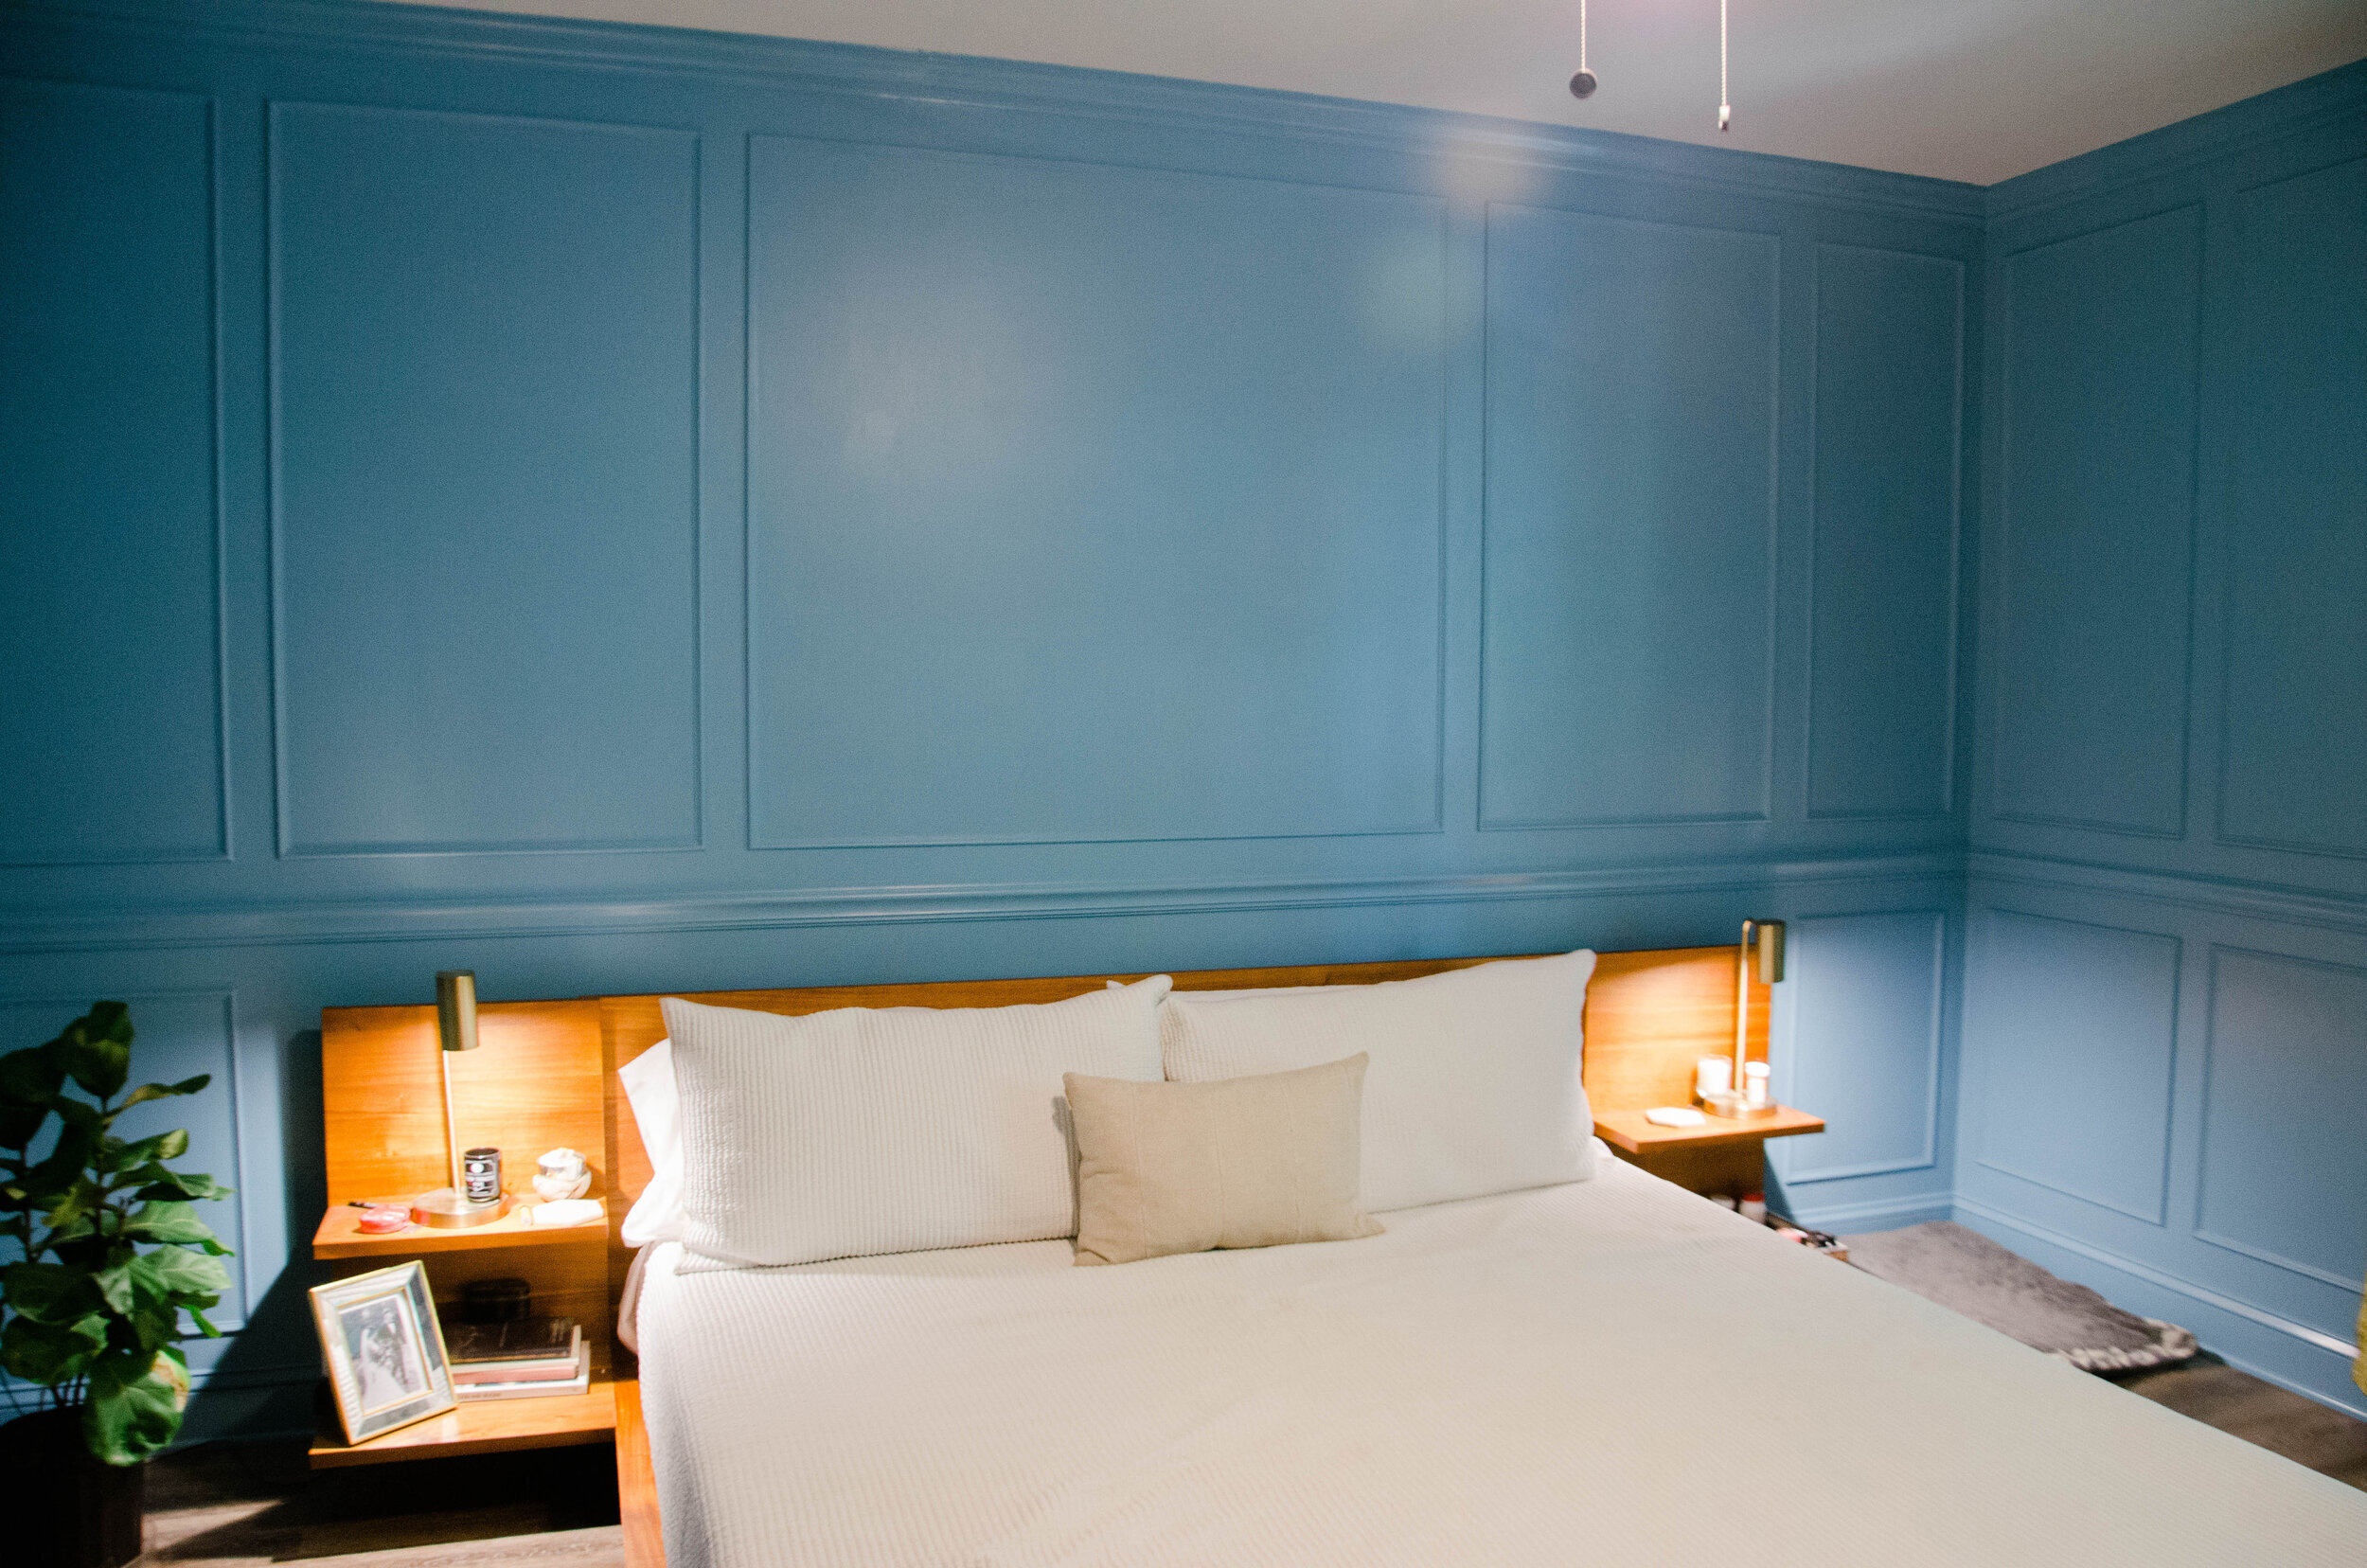
[image: my bedroom, which has blue walls with picture frame trim, a plant, a large low bed with white bedding on which my dog is sitting]

BEFORE
This image is from the listing of the home before we bought it.
[image: a room staged with white and orange furniture and beige walls]

AFTER
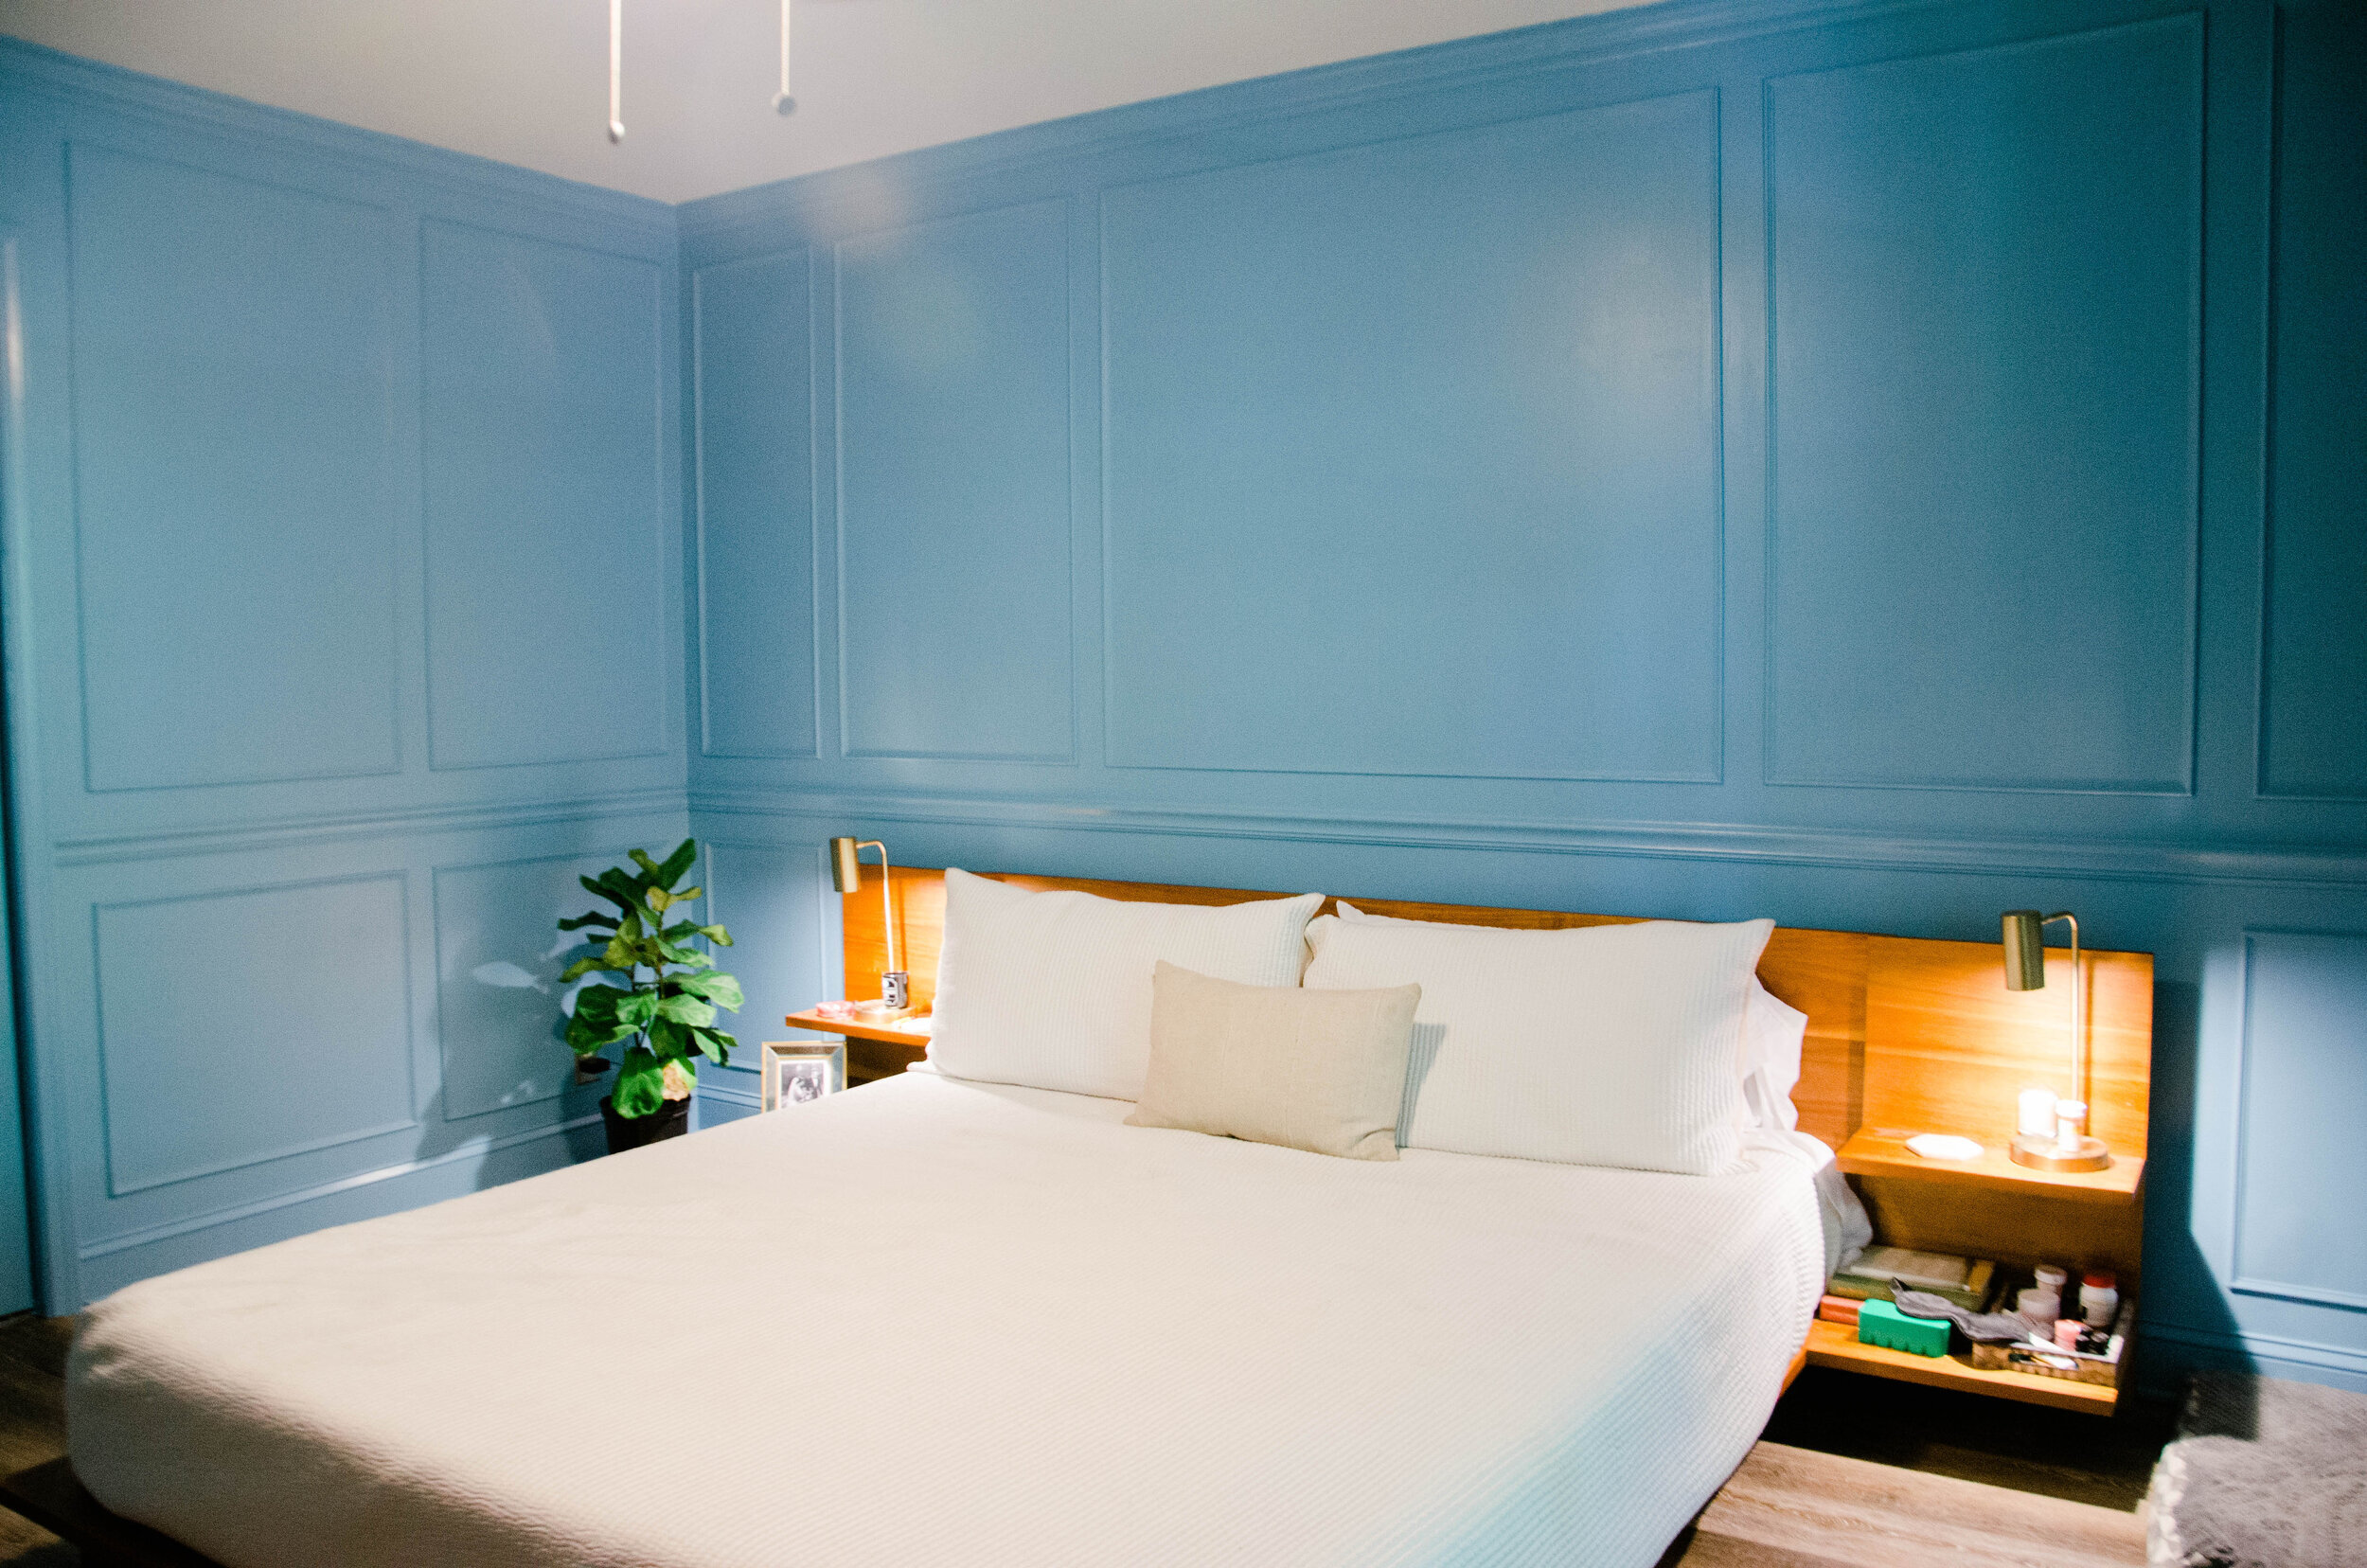
Surprisingly, the trim and large bed make the room feel much bigger than before.
[image: the same as the first image on this web page]
This master bedroom from Alisa at A Glass of Bovino was probably the most helpful walk-through from scratch to final product on the trim. Reading her post also showed us just how impactful a bit of trim could be. All in, the trim and paint was around $500. We were able to borrow friends’ miter saws, saw tables, nail guns, and TIME (most important - it’s not a quick project). We couldn’t have done it without help since this was very much our first trim rodeo. We would now be much faster at putting up, say, crown moulding in the living room (hint hint, Jackson).
Measure and Tape Everything.
A big part of this room was the measuring, re-measuring, and leveling of all the trim. The actual nailing-the-trim-to-the-wall part doesn’t take very long at all. Since we had the furniture first (which I highly recommend if you’re doing a more detailed pattern), we used the width of the bed frame to determine the size of the rectangles we wanted on either side of it and above it.

Start by measuring the width of each wall on which you want to put trim. We had a few things interrupting our walls like a closet, a window, and doors to the hallway and the master bath. What you’ll want to do is measure the un-interrupted space and split that up evenly by however many boxes you have. Don’t forget to account for the space you want to go between the boxes. We had 3” between each box here and made that match around the room. So, every box is also 3” above or below the chair rail and the crown moulding.
So if we had a wall that was 100”, we’d want to do 3 boxes that were 3” apart from each other and from the edges of the wall (so 5 segments of 3” spacing)
= 100-(3x5) = 85.
Divide that by 3 boxes = 28.33”
Each length for the bottom and top of the three boxes would be 28.33” long and then the vertical sides of the boxes would be however high up to the ceiling minus the 3” spacing at the top.
It sounds more complicated than it is, but it’s just complicated enough that you’ll want to check your measurements twice. It’s also tricky because everyone’s room is different, so no tutorial can effectively say “Just cut x inches of trim and staple it up and there you have it!” Scaling is a pain in the butt and it’s maybe the most important part of this project. We decided to use blue tape to measure and draw out all the boxes after we’d done the math but before we cut any trim. I highly recommend it.
Cut all your trim.

First, Jackson and our friend Alec put up the crown molding and the chair rail; this is the hardest part because its continuousness around the room requires pieces of trim to be coped.
Once all the picture frame trim was cut, it took us probably 2 hours to get it all onto the wall.
Paint it all.

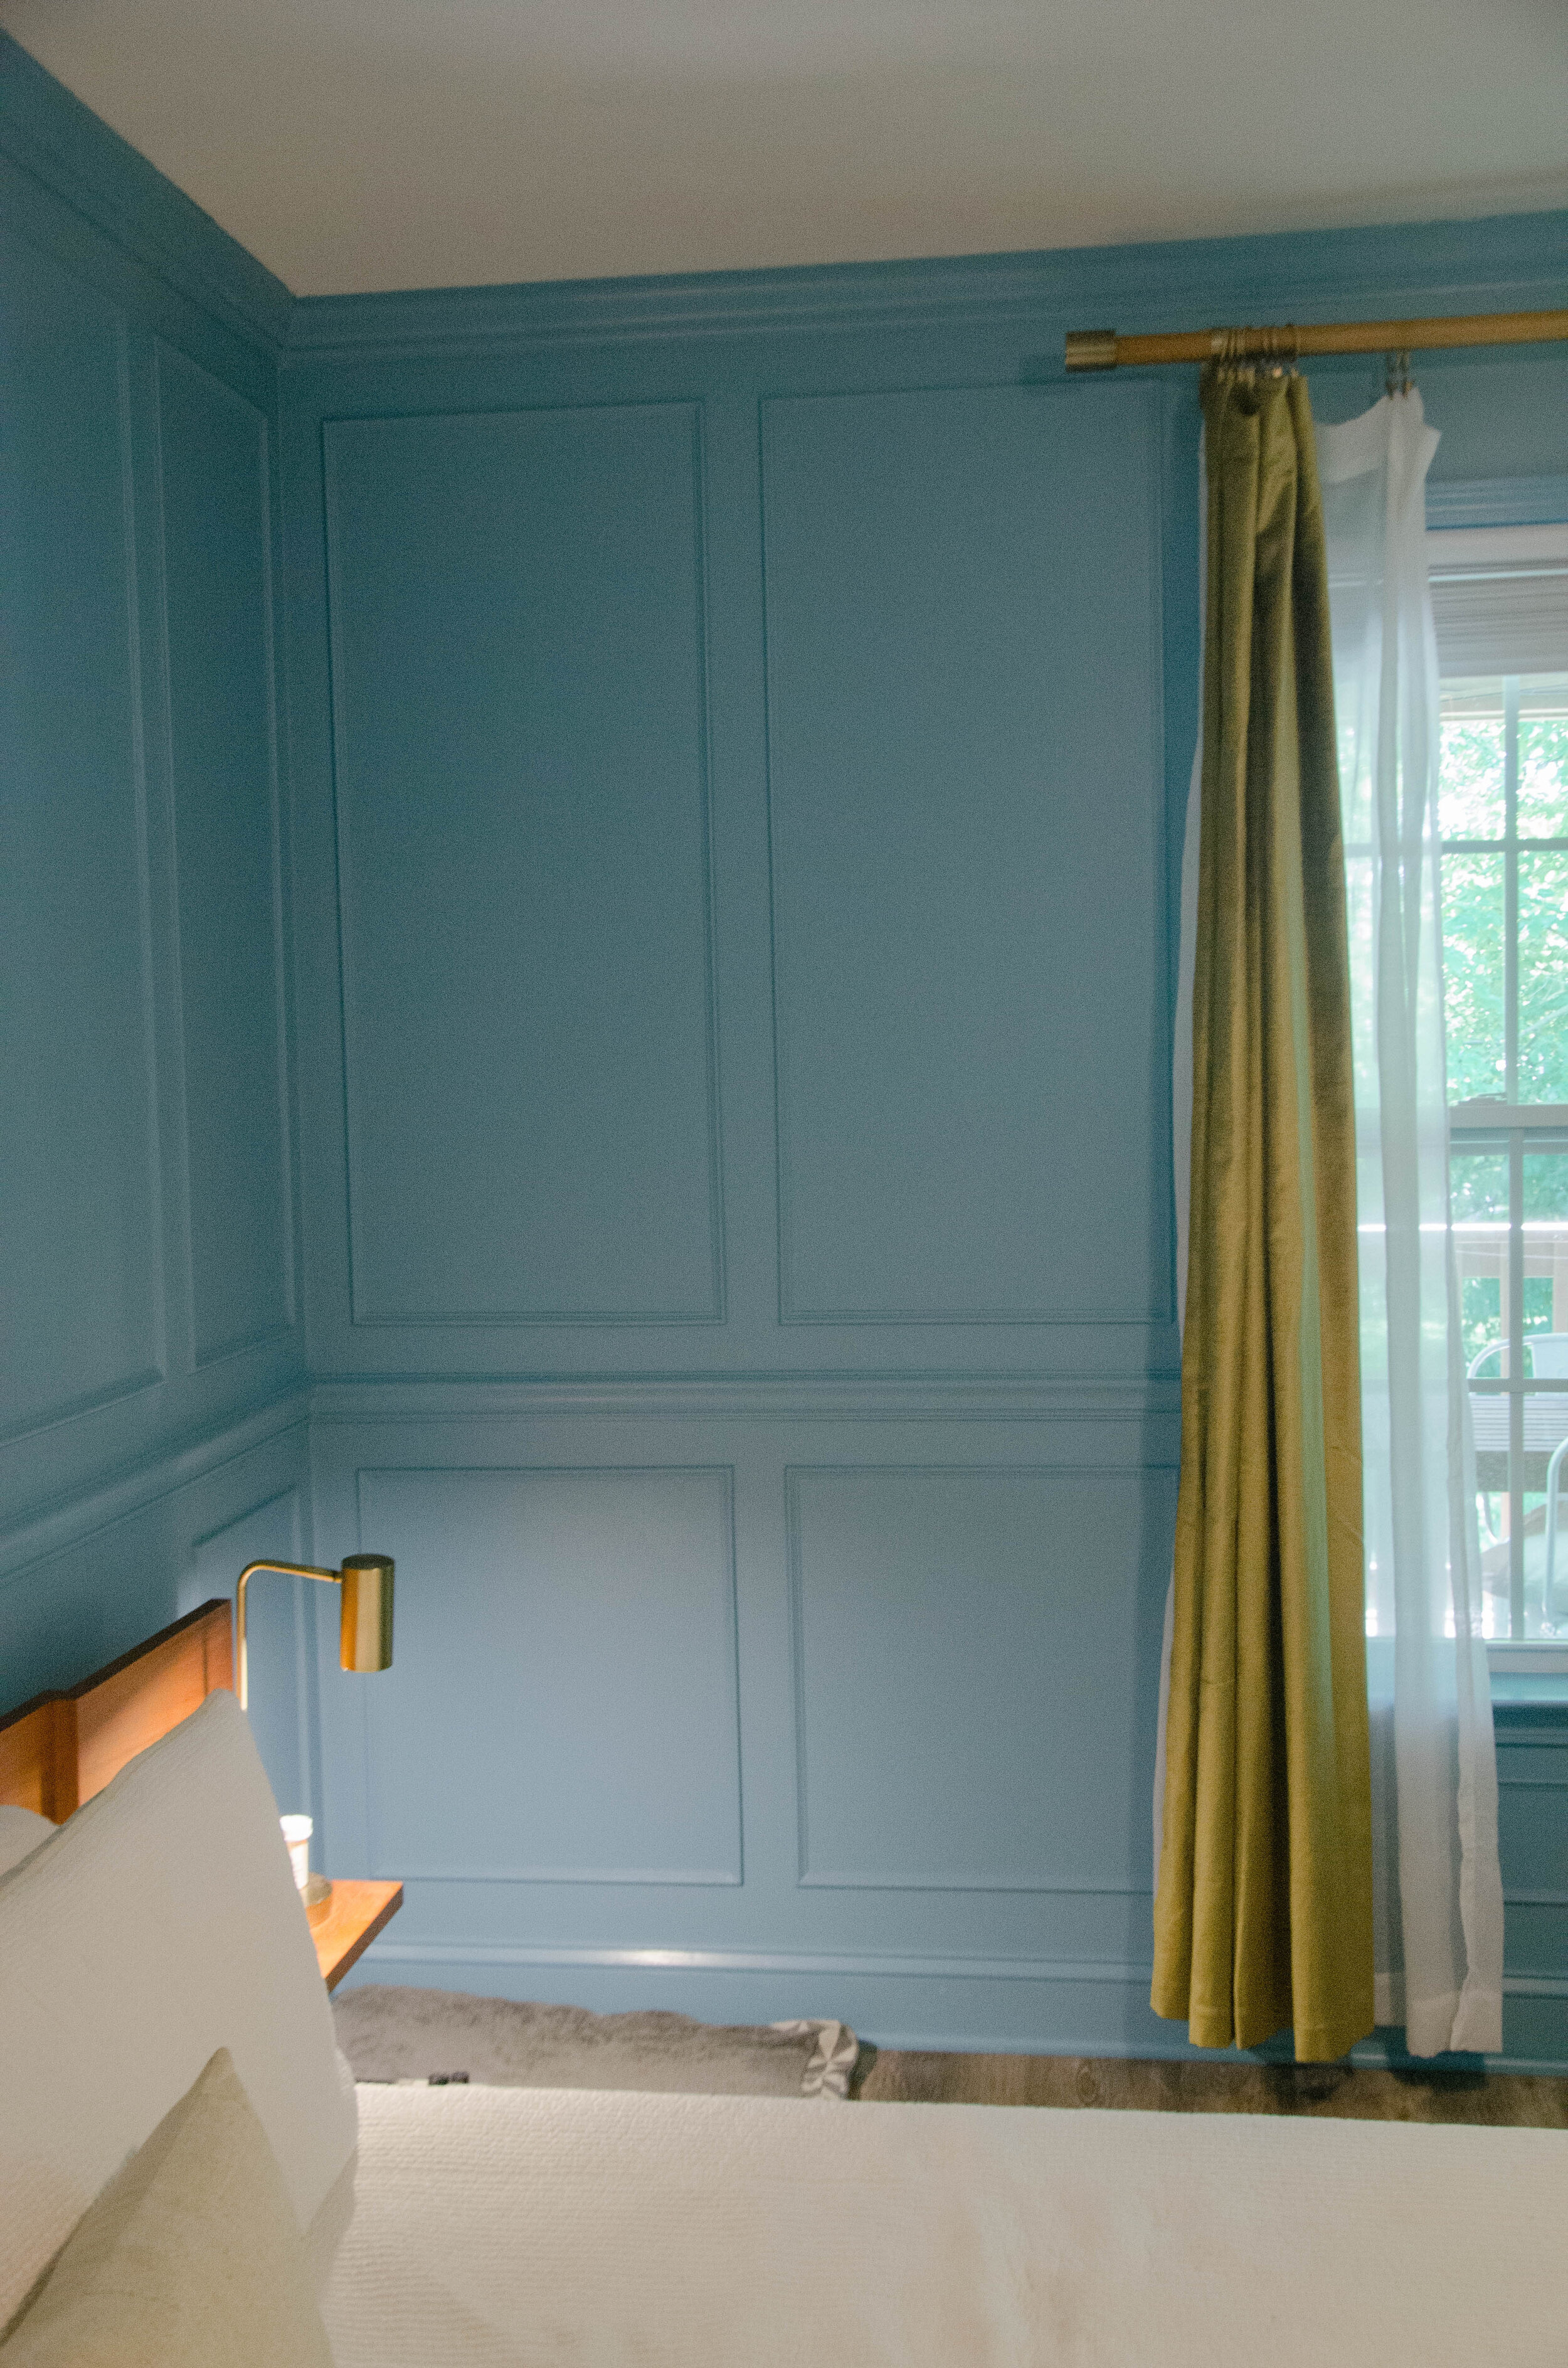
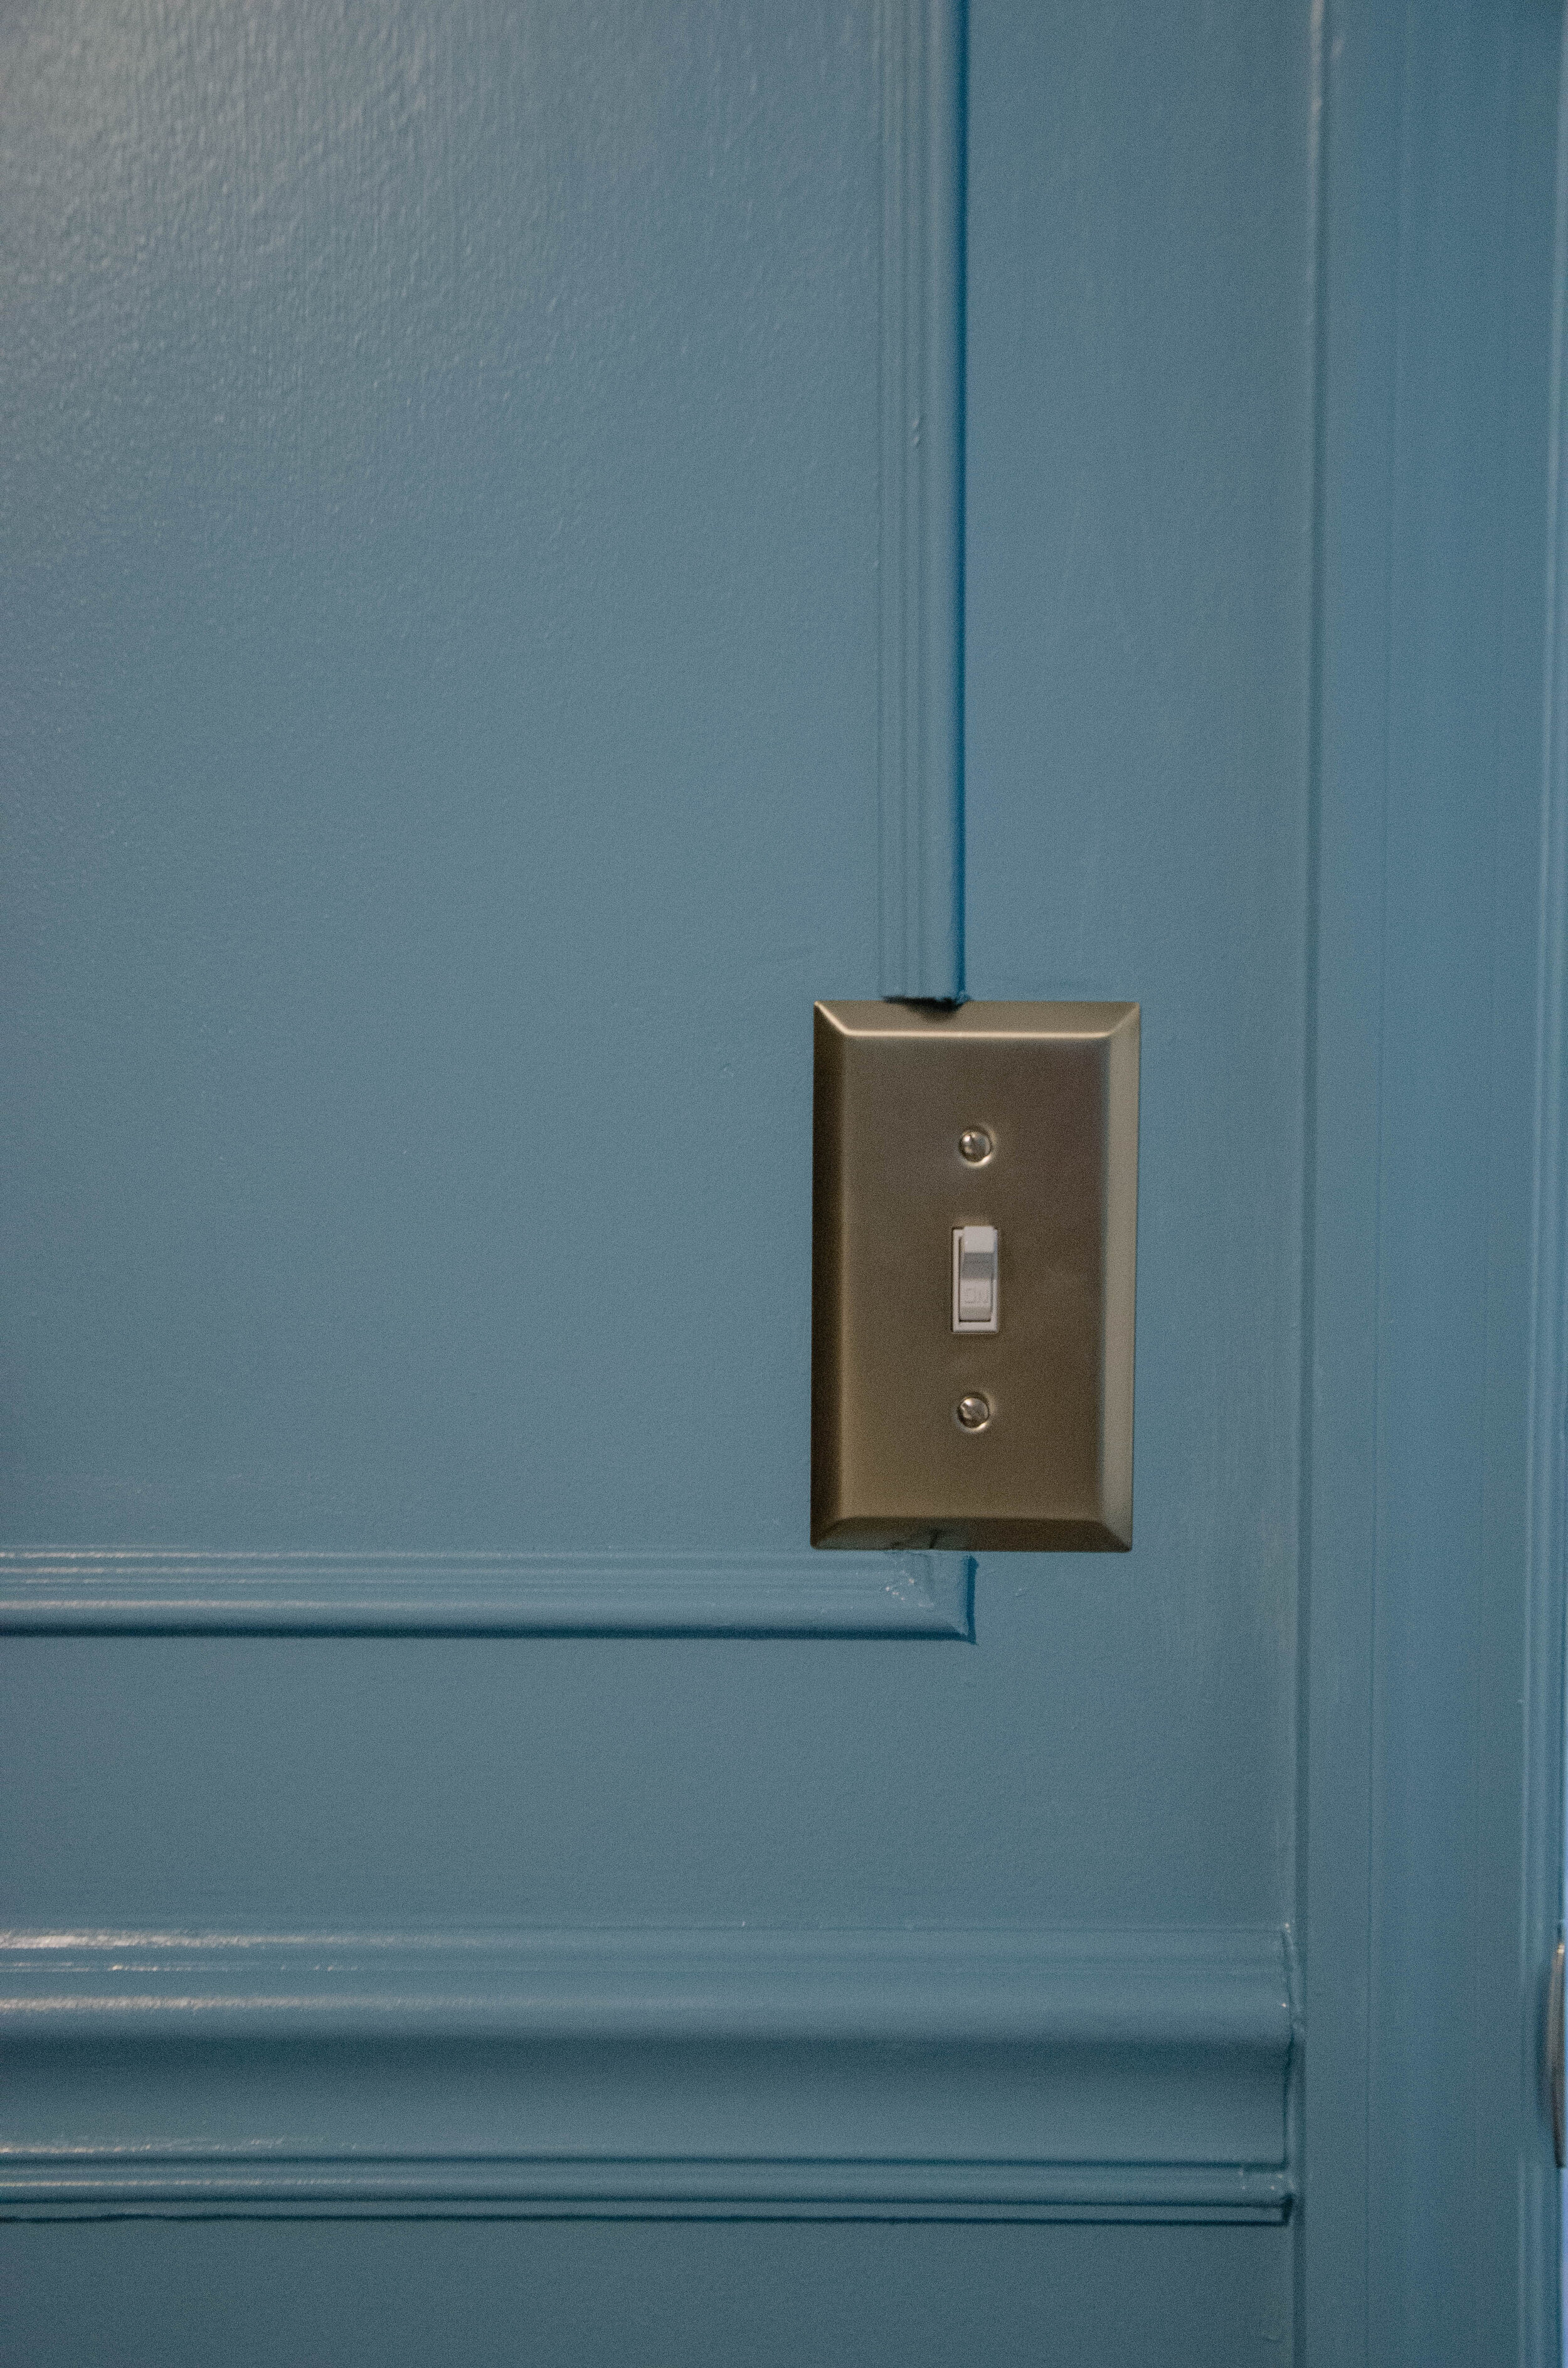
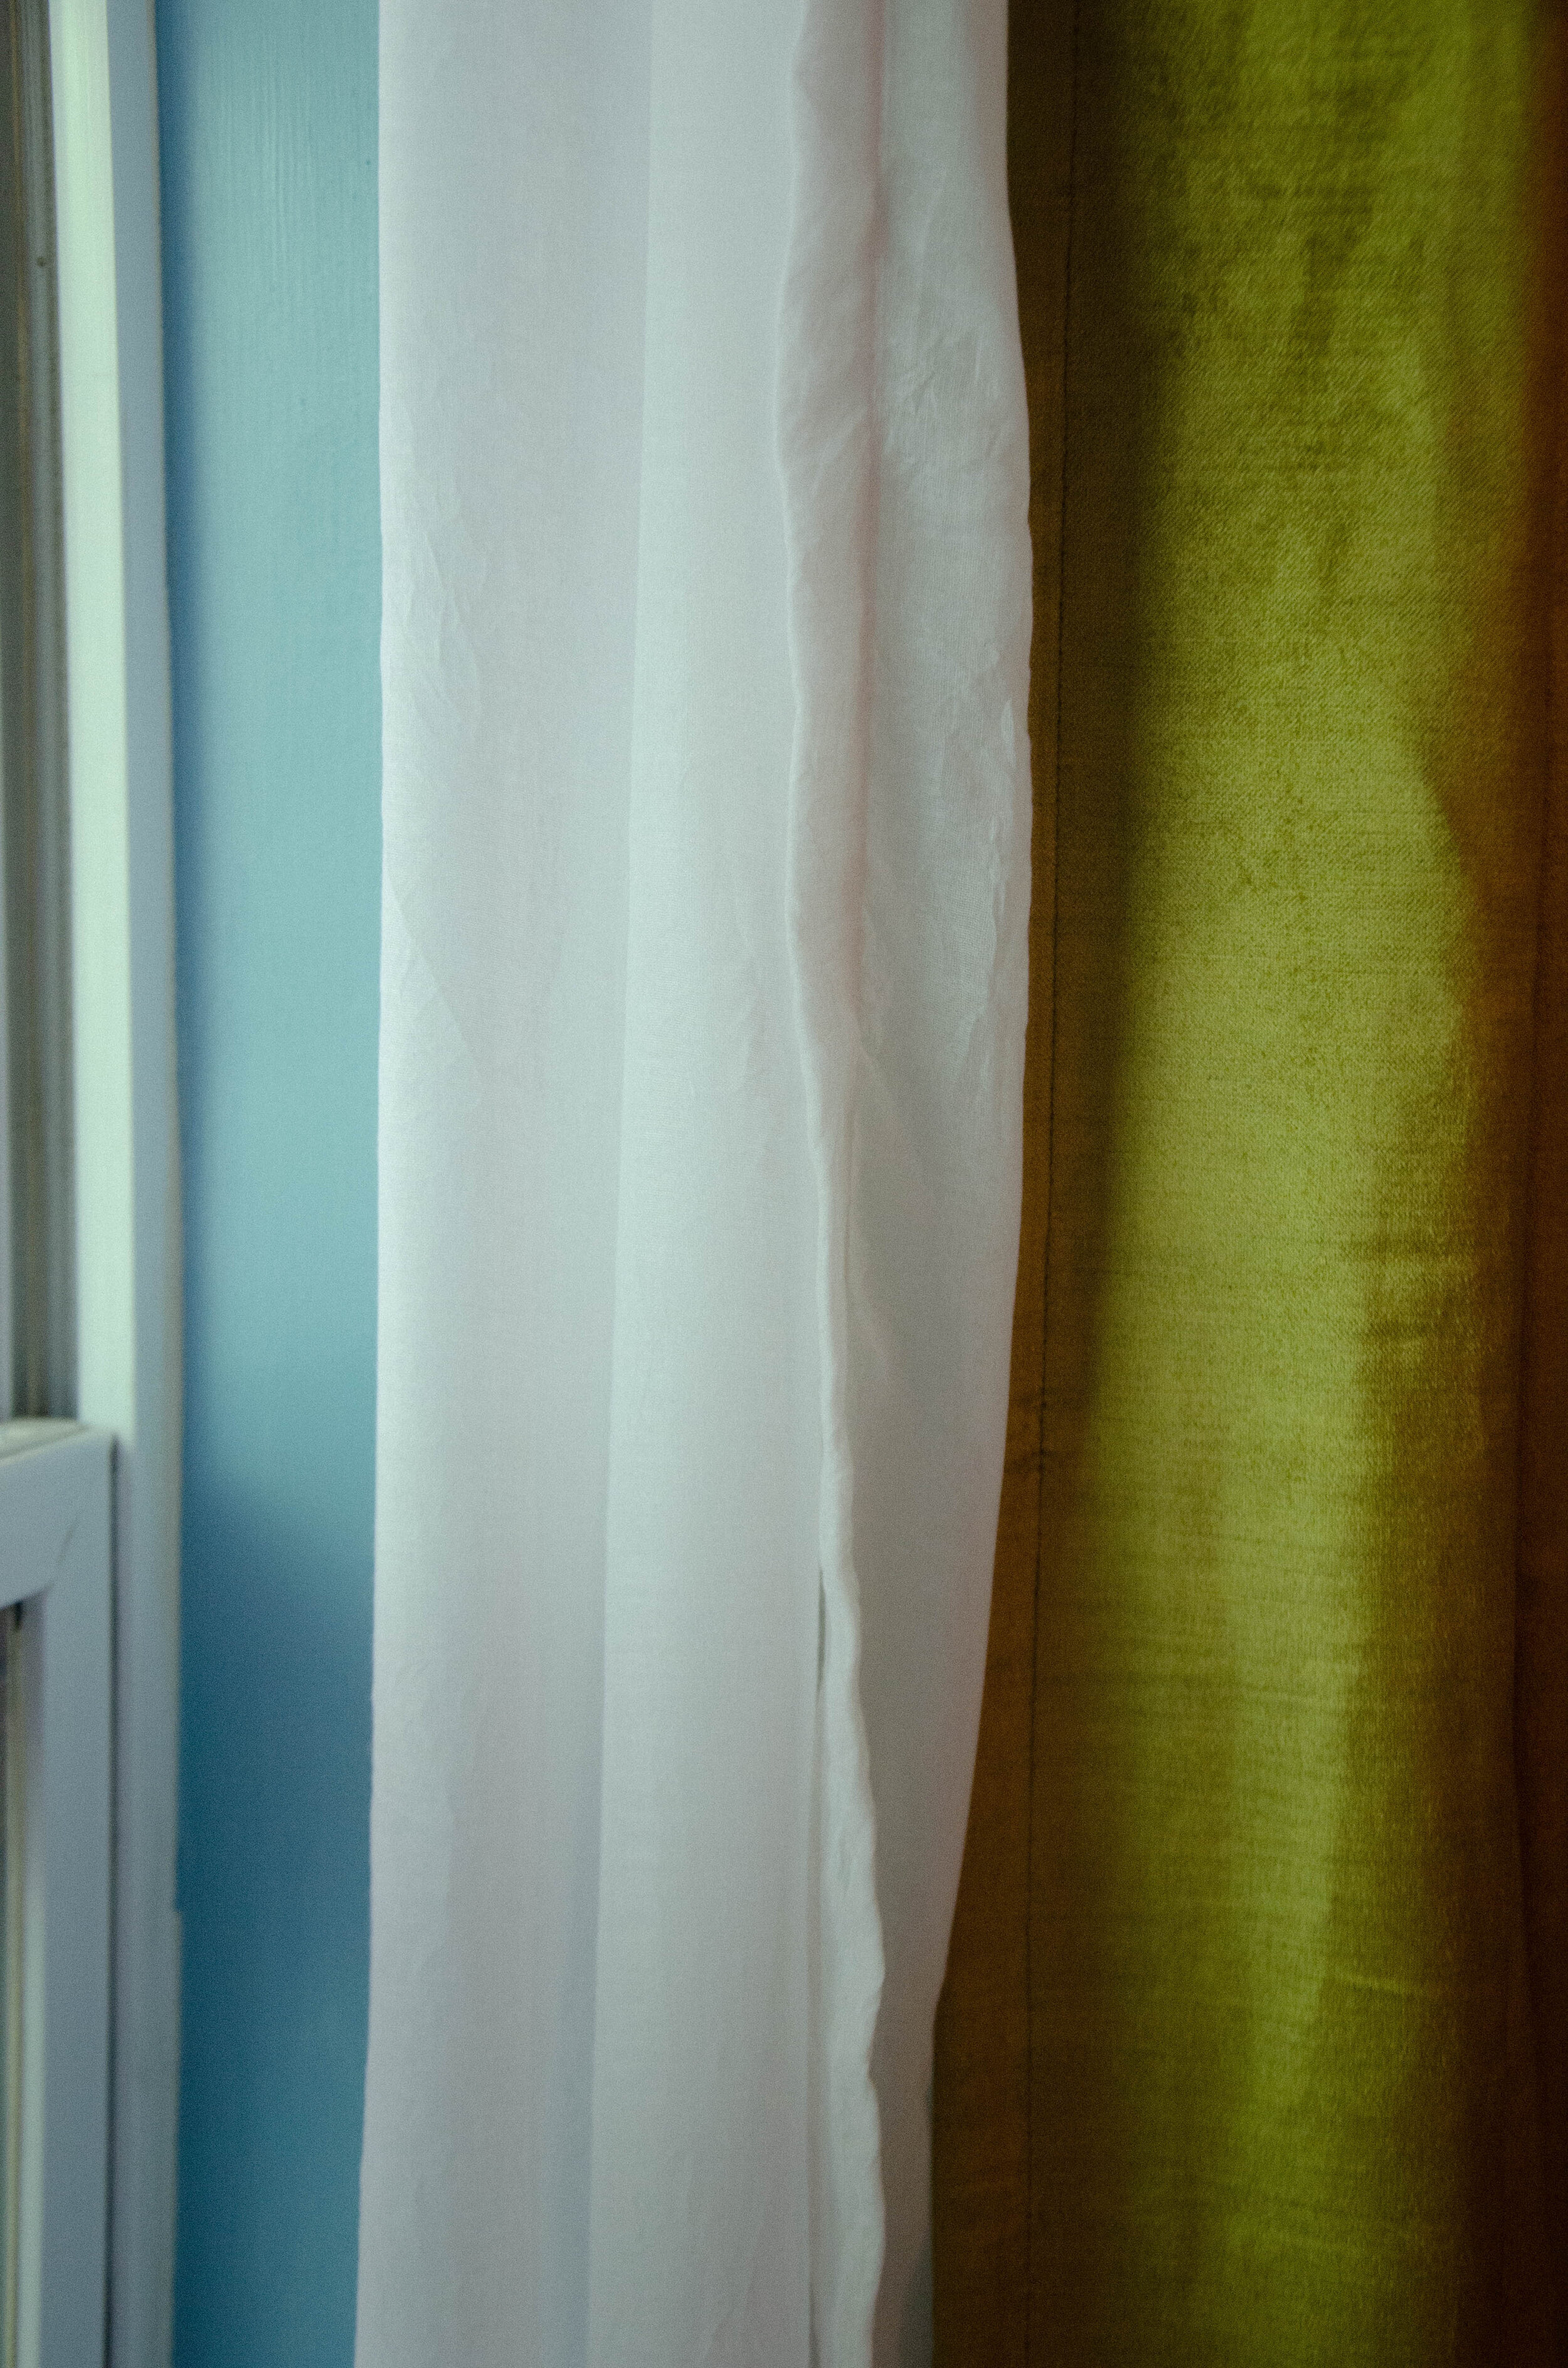
Once you’ve got all your trim on the wall, you’ll want to use wood filler to cover nail holes in the trim and to caulk all the seams where the trim meets the wall. I know this sounds tedious and that’s because it is. But it is worth it for the final look. You won’t want to be going back over your already painted wall to caulk and repaint down the road so just trust me on this one. It’s a little scary to start painting a whole room one color. We even painted the sides of the doors that faced in to the room so it’s like a cozy cave when the doors are shut.
THE FINAL RESULT
We. Love. It. It’s so lush and romantic. We feel like we sleep in a posh hotel room every night.


More on the details of our bedroom can be found in this blog post.
What do you think?! Would you put picture frame trim in your home?
xo,
em

Office Floating Shelves
It’s been a minute since I’ve done a house update and wow have we been doing some house-updating! We decided like very sane and well-planned people to try to knock out three of our biggest projects in the two weeks before my family came to visit. Yep. One of them was this little office schmooze. We are always in need of shelf space for more books (this is where you pretend to be surprised) and I’d designed these floating shelves over our desks to solve that functional issue as well as have a little flair: they look like piano keys! Beveled and everything. I’m very happy with how they turned out and now I just need Camille to come over and style them for me. It’ll be a fresh challenge for her because these books are more like pantry staples: I’ll be using them and moving them around all the time as I’ve entered the writing phase (cue giant restaurant gong sound) of this Ph.D. journey.

Let’s be very clear: I may have designed the shelves and built the bases, which you can see Jackson installing onto the wall below, but I would not ever have been able to do this project on my own. Not even with two of me. I needed Jackson. These shelves are HEAVY. They’re built to last, cut from the last remaining two by fours we have from taking out the wall (the former fourth bedroom, which no one needs in a 1522 square foot home). I could barely hold them up to the wall. I certainly didn’t have the strength to press them flush to the wall, then grab a drill and push that at a 90 degree angle to the board. Yikes. In, yes, sadly classic Emma fashion, I got 60% of the way into this project and then had to grovel like a child who can’t reach the top shelf. Also, I cannot reach the top shelves in our home. Jackson graciously rescued me and did the massively effortful part of getting these up… then decided he really wanted to see it all the way through and enjoyed using the cute little clamps and the wood glue and the nail gun and voila! We had some finished floating shelves.


We moved a few things around in this room and as you can tell, these iPhone photos are on par quality wise for how finished this room is. HD pics headed your way when the new desks, zebra rug, and roarschach prints are all in place.
What'cha think?
em

Goodbye, wallpaper. Hello, paint!
When wallpaper is too expensive but you still want a pop of color and pattern in a space, painting is the way to go.